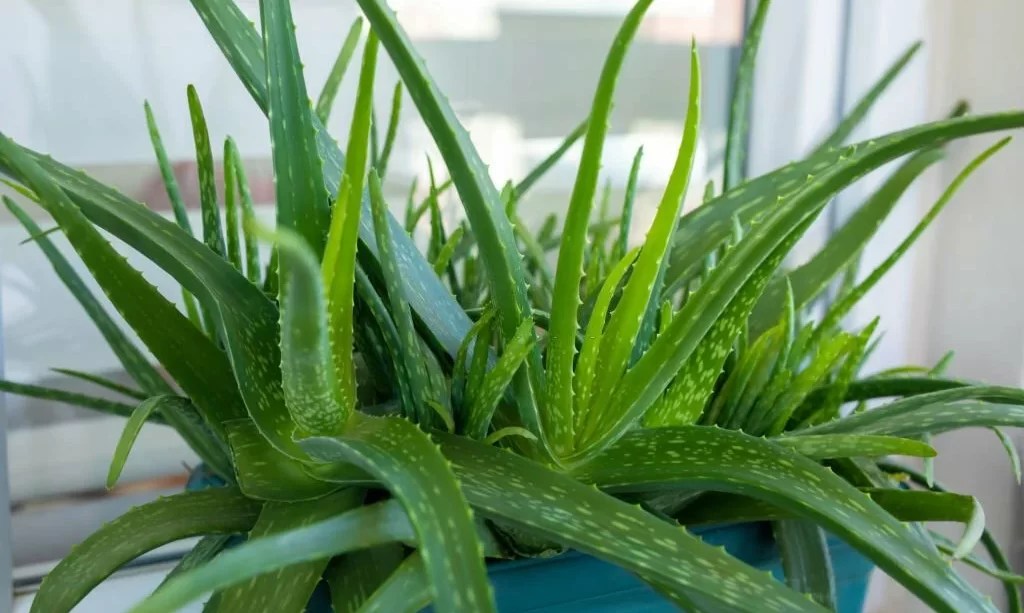
Separating aloe plants can be a rewarding endeavor for any gardener. Aloe vera, with its soothing and medicinal properties, is a popular succulent to have in your garden. However, as it grows, it often produces “offsets” or baby plants that can be separated from the main plant to create new aloe vera plants. This guide will walk you through the process in simple terms, so you can enjoy the benefits of having multiple aloe plants in your home or garden.
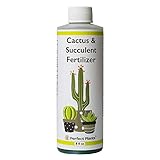
- GROW YOUR OWN SUCCULENT GARDEN- Perfect to feed a wide variety of potted desert plants such as aloe vera, jade plant, hoya, and African violet
- RICH CONCENTRATE OF NUTRIENTS- Pack full of vital plant elements for root growth such as nitrogen, phosphate, and potassium, dilute 1 teaspoon per gallon of water
- FAST ACTING- Superior to powder or granular slow release fertilizers this liquid based plant food is absorbed by plant roots faster and more efficiently
- PROFESSIONALLY PRODUCED AND BOTTLED IN THE USA- We mix and professionally bottle our high quality fertilizer formula right on our family farm
- PERFECT FOR ALL DRY LOVING PLANTS – Use along side well draining potting mix to promote a broad root network in all houseplant succulents, watch your succulent and cacti thrive!
Tools and Materials
Before you start the separation process, it’s crucial to gather the right tools and materials. You’ll need a few simple items, including a sharp knife or garden shears for clean cuts, a clean work surface, and some pots or containers for the new aloe plants. Additionally, a well-draining potting mix is essential to ensure the health of your separated aloe plants. Now that you have your tools and materials ready, let’s move on to the next step.
Selecting the Right Time
Timing is crucial when it comes to separating aloe plants. The best time to do this is during the spring or early summer when aloe vera is actively growing. During this period, aloe plants are at their healthiest and most robust, making it easier for the offsets to establish themselves when separated. So, make sure to plan your aloe separation project for the right season to give your new plants the best chance to thrive.
Preparing the Aloe Plants
Before you dive into the separation process, it’s essential to prepare the aloe plants properly. Start by watering the parent plant a few days before separation to ensure it’s well-hydrated. This will make it easier to handle and lessen stress on the plant. Additionally, inspect the aloe for any damaged or unhealthy leaves and remove them. Healthy plants make for successful separation, so this step is crucial to the process.
Separation Steps
Now, let’s get into the nitty-gritty of separating your aloe plants. Carefully follow these steps to ensure a smooth process. Begin by removing the parent plant from its pot and gently shaking off excess soil. Identify the offsets, or baby plants, that you want to separate. Use your sharp knife or garden shears to make clean cuts, ensuring each offset has some roots attached. Once you’ve separated the offsets, let them air dry for a day to allow the cut ends to callus. This helps prevent rot when they are planted.
Caring for New Aloe Plants
Once your aloe offsets are separated, it’s time to provide them with proper care. Plant each offset in its own pot with well-draining potting mix. Water sparingly at first and then gradually increase the frequency as they establish roots. Place the new plants in a location with bright, indirect sunlight. Aloe vera is hardy, but overwatering or exposing them to direct sun can harm them. Remember to be patient as your new aloe plants grow and thrive.
Common Mistakes to Avoid
As with any gardening project, there are common mistakes to steer clear of. One of the most common errors is overwatering the newly separated aloe plants. Aloe vera prefers to dry out between waterings, so don’t drown them. Also, avoid using pots without drainage holes, as aloe roots can rot if they sit in water. Finally, refrain from exposing your new plants to harsh, direct sunlight right away. Gradual acclimation is key to their success.
Conclusion
In conclusion, separating aloe plants can be a fulfilling and beneficial task for gardeners. By following these steps and avoiding common mistakes, you can multiply your aloe plants and enjoy their many uses. Whether it’s for soothing sunburns or purifying the air in your home, aloe vera is a versatile and valuable addition to any garden. So, go ahead and try your hand at aloe separation, and watch your aloe family grow.