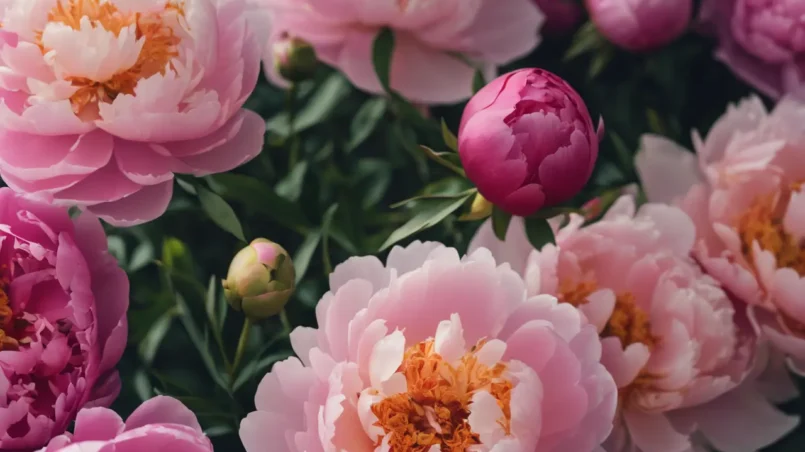
Peonies, with their lush, full blooms and rich colors, stand as a symbol of beauty and prosperity in gardens and floral arrangements worldwide. These perennial flowers have captivated the hearts of gardeners and floral enthusiasts for centuries, not only for their stunning appearance but also for their fragrance and the sense of elegance they bring to any setting. However, behind their exquisite beauty lies a common perception: peonies are often considered an expensive choice. This article...
Category - Gardening
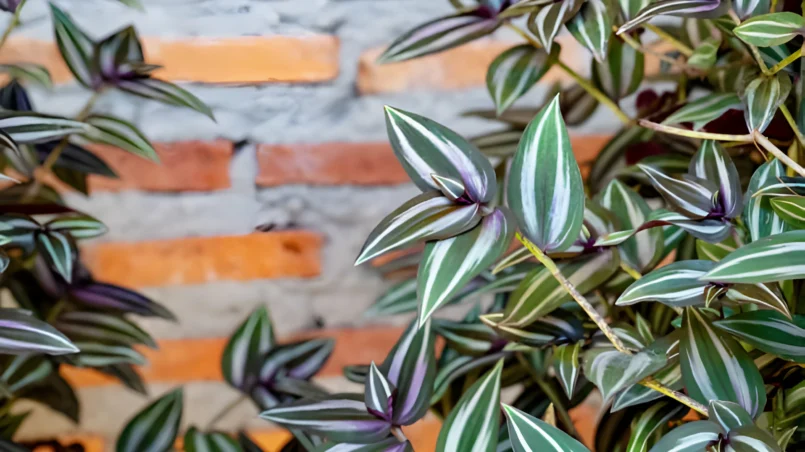
Inch plant, scientifically known as Tradescantia zebrina, is a lush, fast-growing vine cherished for its strikingly patterned leaves and ease of care. This plant, often gracing indoor spaces and shaded garden spots, is not only a visual delight but also a prime candidate for propagation. Propagation, the process of creating new plants from an existing plant, stands as a testament to the wonders of gardening, allowing enthusiasts to expand their collection and share with others. The allure of...
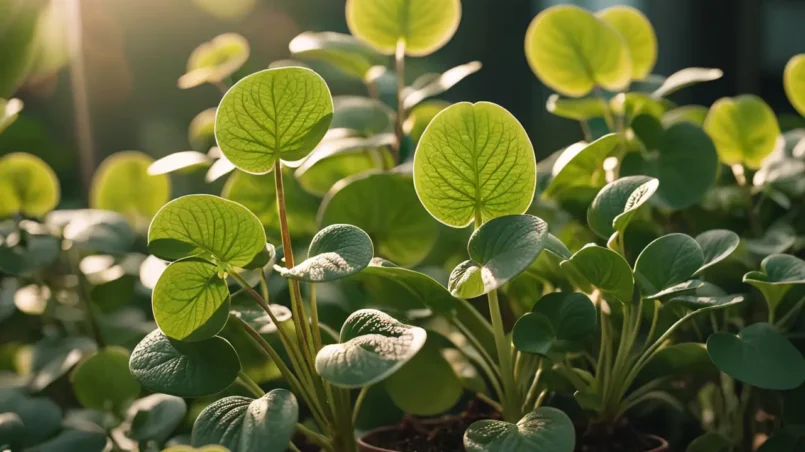
Pilea peperomioides, commonly known as the Chinese Money Plant, is an eye-catching houseplant, beloved for its unique, round, coin-like leaves and ease of care. A symbol of prosperity and friendship, Pilea is not only a decorative addition to the home but also a popular choice for sharing among friends and family. This guide dives into the various methods of propagating Pilea, allowing even novice gardeners to expand their collection and share the joy of gardening. Pilea...
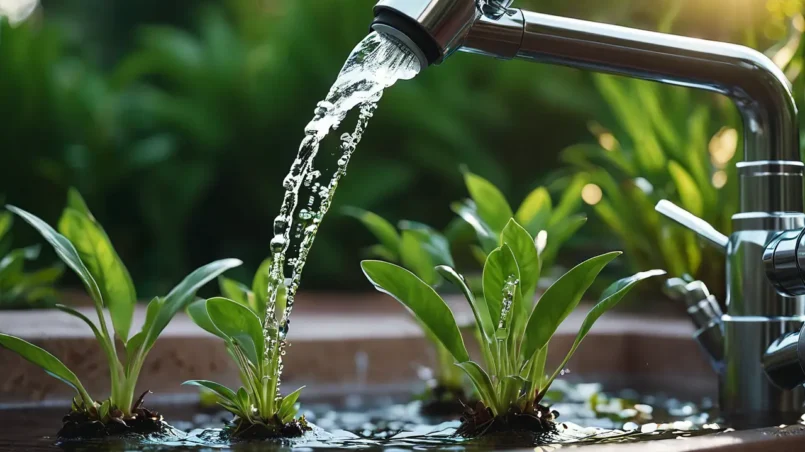
Water is a vital element for plant health, but not all water is created equal. Tap water, while safe for human consumption, may contain elements harmful to plants. Chlorine, chloramine, heavy metals, and excessive minerals can adversely affect plant growth, soil health, and microbial activity. Understanding how to make tap water safe for plants is crucial for any gardener who wants to ensure their plants thrive. Your Tap Water The first step in safeguarding your plants is to understand...
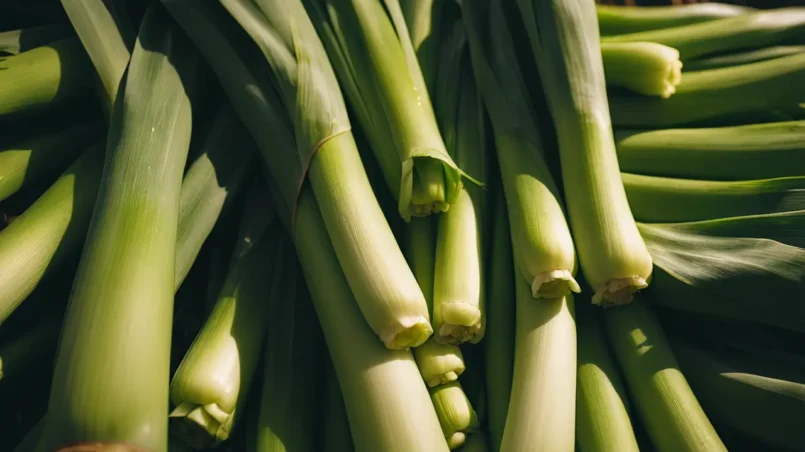
Leeks, with their mild onion-like flavor, are a staple in many kitchens around the globe. They enhance dishes ranging from soups and stews to quiches and salads. However, their larger size and unique storage needs compared to other alliums like onions and garlic mean that knowing how to store leeks properly is essential. This guide will provide you with a variety of methods to ensure your leeks remain fresh and flavorful, whether you’re looking to keep them for a few days or several...

Gladiolus, known for their striking, tall spikes of colorful flowers, are a favorite among gardeners and flower enthusiasts alike. These vibrant blooms not only add a splash of color to gardens and bouquets but also hold a charm that captivates many. However, for cat owners, the allure of adding such beauty to their home comes with a crucial consideration: the safety of their feline friends. Understanding which plants are safe and which could pose a danger is essential for creating a...