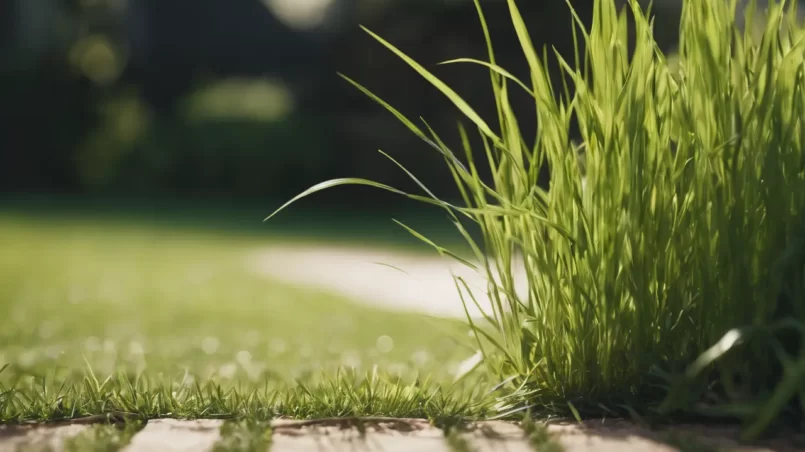
St. Augustine grass, known for its lush, carpet-like quality, is a popular choice for lawns in warmer climates. This grass type is favored for its ability to establish quickly and create a dense, attractive turf. However, encouraging it to spread rapidly and healthily requires specific care and techniques. This article will delve into effective strategies to help your St. Augustine grass flourish and cover your lawn evenly and quickly. ...
Category - Lawn care
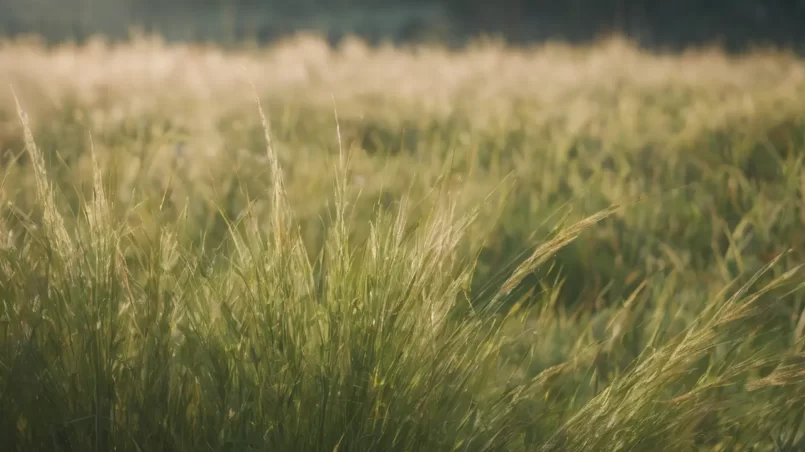
Bahia grass, known scientifically as Paspalum notatum, is a tough, perennial grass that can be both a blessing and a bane for gardeners. Originally from South America, it has become a common sight in many lawns, especially in warmer climates. While Bahia grass is valued for its drought resistance and ability to thrive in less fertile soils, it can quickly become invasive, overpowering other grass species in your lawn. The challenge lies in eliminating Bahia grass without harming the more...
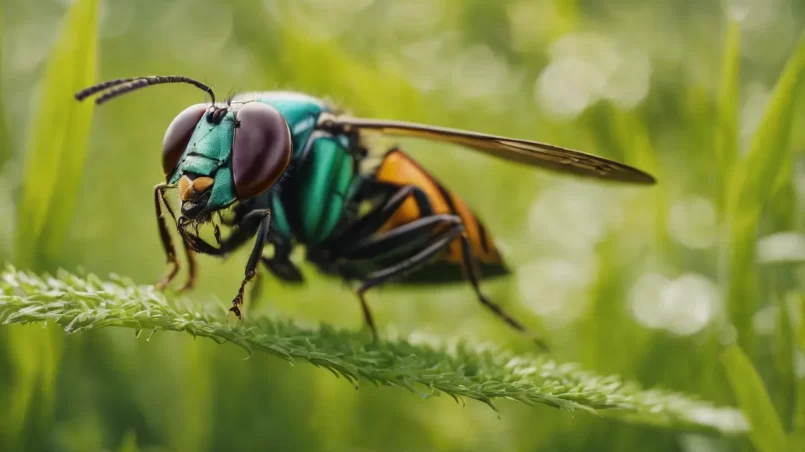
Insects play a vital role in various ecosystems, including grasslands, gardens, and agricultural fields. Among their many ecological functions, some insects are known for feeding on grass, which can have both beneficial and detrimental impacts on their environment. This article will explore the diverse world of grass-eating insects, highlighting their habits, types, and roles within their ecosystems. Grass as a Habitat and Food Source Grass serves as a fundamental component in many...

Pampas Grass (Cortaderia selloana), known for its striking, feathery plumes and tall stature, is a popular choice in many landscapes and gardens. Originating from South America, this ornamental grass has captivated gardeners worldwide with its graceful appearance and ease of care. A common question among enthusiasts is: how long does Pampas Grass last? Understanding its lifespan and how it thrives in various environments is essential for anyone looking to incorporate this plant into their...
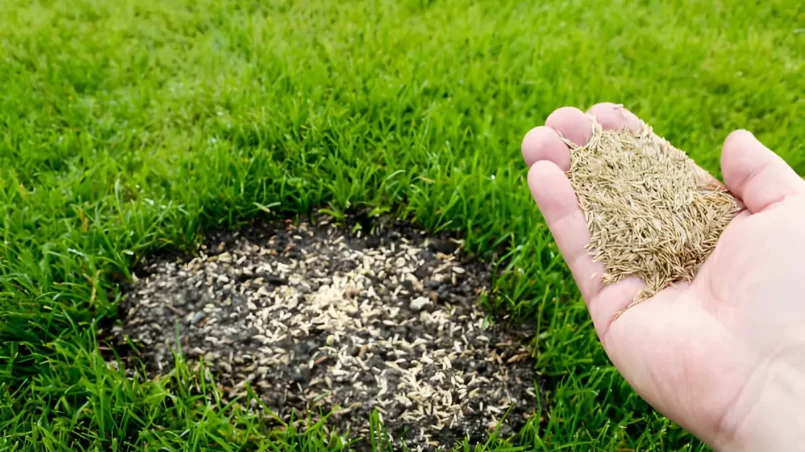
When nurturing a lush, green lawn, understanding the right timing for various lawn care activities is crucial. Weed and feed products are popular for their dual action: they eliminate unwanted weeds while providing essential nutrients to your grass. However, if you’re planning to rejuvenate your lawn by planting new grass seed, it’s vital to know how long you should wait after applying weed and feed. This article will guide you through the necessary steps and considerations to...
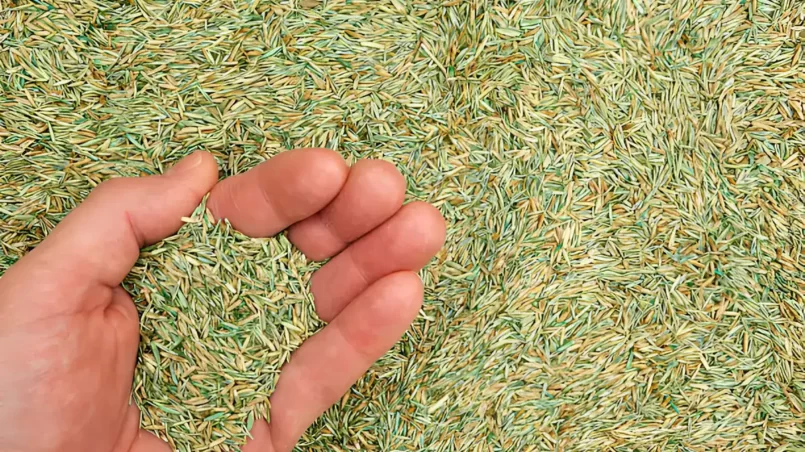
Proper storage of grass seed is crucial for maintaining its viability and ensuring a lush, healthy lawn. Whether you’re a homeowner with a small garden or a professional landscaper, understanding how to store grass seed effectively can save time and resources. This article will delve into the essential aspects of grass seed storage, covering environmental factors that affect seed longevity and practical methods to preserve seed viability. Grass Seed Storage Grass seed viability is...