Black Eyed Susans, with their golden petals and dark centers, are a favorite in many gardens for their hardiness and vibrant color. Understanding the best time to transplant these perennials is key to maintaining their health and ensuring continuous blooms. This guide will provide essential tips on when and how to transplant Black Eyed Susans effectively.
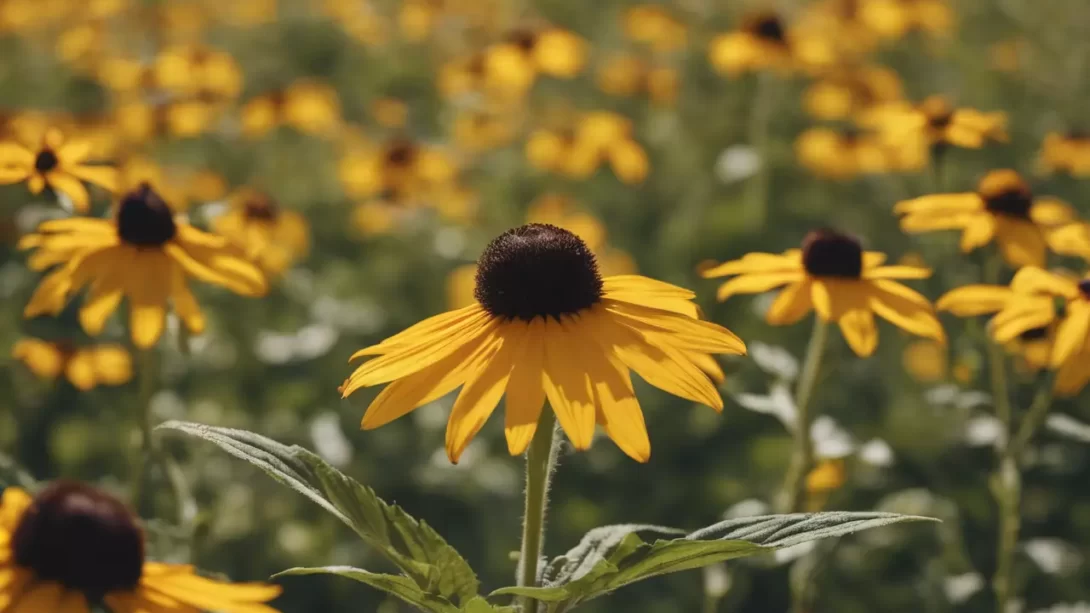
Black Eyed Susans
Black Eyed Susans (Rudbeckia hirta) are known for their adaptability and ease of care, making them a popular choice for gardeners of all levels. These flowers typically bloom from late spring to early fall, adding a splash of color to the landscape. Transplantation might be needed for various reasons, such as overcrowding, poor growing conditions, or garden redesigns. Knowing when to transplant is crucial for minimizing stress on the plants and ensuring a successful transition.
Best Time for Transplanting Black Eyed Susans
The ideal time to transplant Black Eyed Susans is during the cooler temperatures of early spring or early fall. These periods allow the plants to establish themselves in their new location without the stress of extreme heat or cold.
In early spring, aim to transplant after the last frost but before the plants start their active growth phase. This timing allows them to acclimate and begin growing in sync with the season. In early fall, transplant at least a few weeks before the first expected frost. This gives the plants enough time to establish their root systems before winter dormancy.
Avoid transplanting Black Eyed Susans in the heat of summer, as the high temperatures and intense sun can add stress and hinder the establishment of the transplanted flowers.
Preparing for Transplantation
Before moving Black Eyed Susans, both the plants and the new site need to be properly prepared. A few days before transplanting, water the plants thoroughly. This ensures they are hydrated, which can help reduce transplant shock.
If the plants are large or overgrown, consider trimming them back lightly. This can make them easier to handle and can help focus the plant’s energy on re-establishing its root system in the new location rather than maintaining a large amount of foliage.
For the new site, select an area that receives full sun to partial shade, as Black Eyed Susans thrive in bright light. Prepare the soil by loosening it and adding organic matter, such as compost, to improve fertility and drainage. Ensure the planting site has adequate space for the spread of the plants, considering their mature size.
The Transplanting Process
Transplanting Black Eyed Susans involves careful removal and replanting to minimize root disturbance and stress. Start by digging around the perimeter of the plant, giving a wide berth to avoid damaging the root system. Aim to keep as much of the root ball intact as possible.
Gently lift the plant from the soil, using a shovel or garden fork if necessary. If the plant is particularly large, you may need to divide it. This can be done by gently teasing apart the roots or cutting them with a sharp knife or spade. Division not only makes the plants easier to handle but also rejuvenates them and encourages more vigorous growth.
Transport the plant to its new location, handling it carefully to prevent damage. Plant the Black Eyed Susans at the same depth they were previously growing, as planting too deep can cause stress or rot. Backfill the hole with soil, gently firming it around the roots to remove air pockets.
Post-Transplant Care
Proper aftercare is essential for the successful establishment of transplanted Black Eyed Susans. Immediately after transplanting, water the plants generously to help settle the soil around the roots and eliminate air pockets. Continue to water the plants regularly, especially during the first few weeks after transplanting, to ensure they have enough moisture to recover from the transplant shock. The soil should be kept moist but not waterlogged.
Mulching around the transplanted Black Eyed Susans can be very beneficial. A layer of organic mulch, such as shredded bark or leaf mold, will help retain soil moisture, regulate temperature, and suppress weed growth. Keep the mulch a few inches away from the plant stems to prevent potential rot or pest issues.
Fertilization should be approached with caution. In the first season after transplanting, it’s often best to limit fertilization to allow the plants to focus on establishing their root systems. If you do choose to fertilize, use a balanced, slow-release fertilizer, and follow the instructions carefully to avoid over-fertilizing.
Troubleshooting Common Issues
After transplanting, it’s not uncommon for Black Eyed Susans to experience some degree of transplant shock, which can manifest as wilting, leaf yellowing, or a temporary halt in growth. Usually, consistent watering and proper care can help the plants recover.
Keep an eye out for signs of disease or pest infestation. Common issues with Black Eyed Susans include powdery mildew, leaf spots, and aphids. Address any problems promptly using appropriate organic or chemical treatments. Ensuring good air circulation around the plants and avoiding overhead watering can help prevent many common fungal diseases.
Conclusion
Transplanting Black Eyed Susans can invigorate your garden, spreading their cheerful blooms to new areas. By transplanting at the right time, preparing the plants and the new site adequately, and providing attentive post-transplant care, these hardy perennials can continue to thrive and beautify your landscape for years to come. With patience and proper care, you can successfully manage the transplanting process and enjoy the vibrant presence of Black Eyed Susans in your garden.