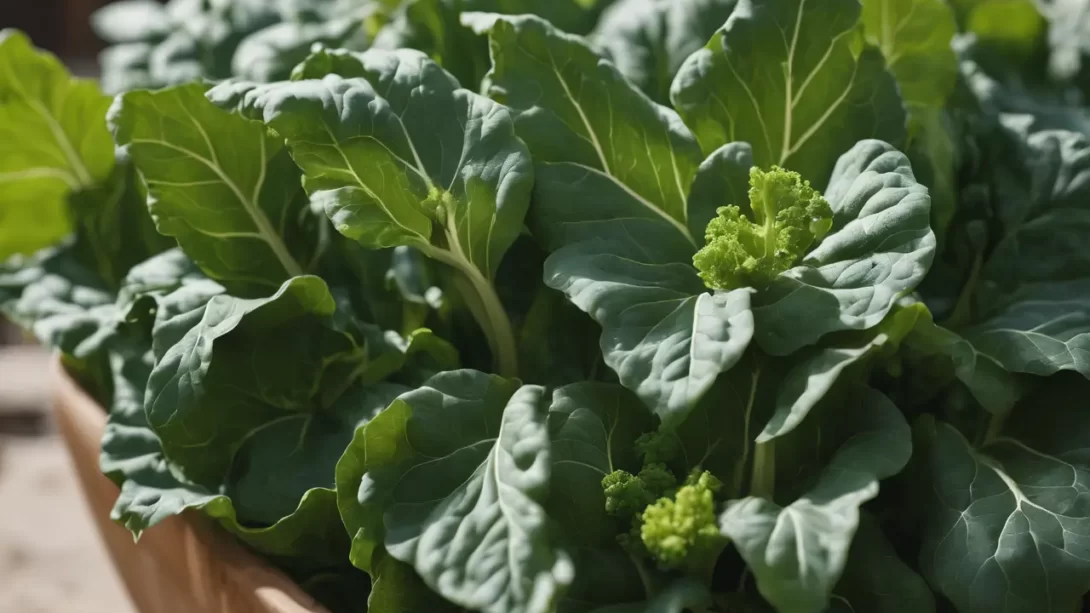
Collards, a staple in Southern cuisine, are especially cherished in North Carolina for their nutritious greens and flavorful contribution to many dishes. This leafy vegetable, known for its tolerance to both heat and cold, thrives in North Carolina’s diverse climate, making it an excellent choice for gardeners across the state. Timing your planting right is crucial to ensure a bountiful harvest. This guide will walk you through the best times to plant collards in North Carolina and the initial steps to prepare for a successful growing season.
The North Carolina’s Climate
North Carolina’s climate varies significantly from the coastal plains to the Appalachian Mountains. The state is divided into several climate zones, each with unique weather patterns that influence gardening schedules. The coastal region experiences mild winters and long, hot summers, while the mountainous areas have cooler temperatures and shorter growing seasons. Understanding these regional variations is essential for determining the optimal planting times for collards, which are generally resilient but still subject to the whims of weather.
Best Time to Plant Collards in North Carolina
In North Carolina, collards can be planted at multiple times of the year due to their hardiness. In general, planting collards in early spring and late summer are the best choices. For a spring harvest, collards should be planted 4-6 weeks before the last expected frost date. This typically falls in late February to early March for much of the state. For a fall harvest, which often yields sweeter leaves due to frost exposure, aim to plant in late July to August. These planting windows take advantage of the cooler temperatures in spring and fall, which collards prefer for optimal growth.
Preparing Your Garden for Collards
Before planting collards, preparing your garden is crucial for their growth and health. Collards thrive in well-drained, fertile soil with a pH between 6.0 and 7.0. Start by testing your soil to adjust its pH if needed, using lime to raise the pH or sulfur to lower it. Enrich the soil with compost or well-rotted manure to provide essential nutrients. Select a planting site that receives full sun for at least six hours a day, as collards need ample sunlight to develop strong, healthy leaves.
Planting Techniques for Collards
When planting collards, you can start with seeds or transplant seedlings. If you’re starting with seeds, sow them about half an inch deep in the soil, spacing them about 18 to 24 inches apart to allow room for growth. If you’re using seedlings, gently transplant them into your prepared soil at the same spacing. Water the plants thoroughly after planting. Consistent moisture is important for collards, but be careful not to overwater, as this can lead to root rot.
Care and Maintenance
Regular care is essential for collards to thrive. Water the plants regularly, keeping the soil consistently moist but not waterlogged. Mulching around the plants can help retain soil moisture and suppress weeds. Collards benefit from a balanced fertilizer, especially one high in nitrogen, to promote leafy growth. Apply the fertilizer according to the product instructions, usually every 4-6 weeks. Regularly check for and remove weeds, which compete with collards for nutrients and water.
Pest and Disease Management
Collards, like many garden vegetables, are susceptible to pests and diseases. Common pests include aphids, cabbage loopers, and flea beetles. Diseases such as downy mildew and black rot can also affect collards. To manage these challenges, practice crop rotation, use row covers to protect the plants, and apply organic or chemical controls as necessary. Regularly inspect your plants and take action promptly if you notice any signs of pests or diseases.
Harvesting Collards
Knowing when to harvest collards is key to enjoying their best flavor and texture. Collard greens are typically ready for harvest 60 to 80 days after planting, depending on the variety and growing conditions. The leaves can be harvested when they are about the size of your hand. Unlike some vegetables, collards can be harvested gradually. You can start by picking the lower leaves first, allowing the upper ones to continue growing. This method extends the harvesting period. Remember, collards often taste better after a light frost, as the cold temperatures enhance their sweetness.
Storing and Using Collards
Once harvested, collards can be stored in the refrigerator for up to 10 days. Rinse the leaves in cold water, pat them dry, and store them in a plastic bag in the crisper drawer. For longer preservation, collards can be blanched and frozen. In the kitchen, collards are versatile and can be used in a variety of dishes, from traditional Southern recipes to contemporary culinary creations. They can be sautéed, boiled, added to soups, or even eaten raw in salads.
Troubleshooting Common Issues
Gardeners in North Carolina may encounter specific challenges when growing collards. Heat and humidity can sometimes encourage the growth of pests and diseases. If your collards are wilting or showing signs of distress despite proper care, consider adjusting watering schedules and inspecting for pests. In cases of extreme heat, providing some shade during the hottest part of the day can help.
Conclusion
Planting collards in North Carolina can be a rewarding experience, offering delicious and nutritious greens for your table. By understanding the best planting times, preparing your garden appropriately, and providing regular care and maintenance, you can enjoy a successful collard harvest. Whether you’re a seasoned gardener or a beginner, growing collards is a great way to connect with the rich agricultural heritage of North Carolina.