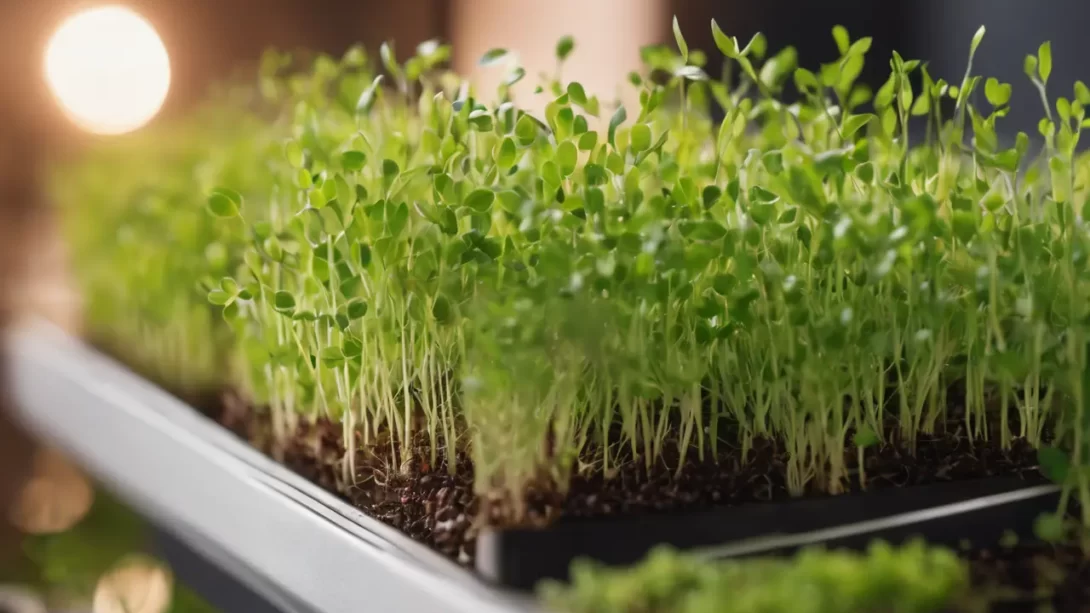
Microgreens, the young seedlings of vegetables and herbs, have gained popularity for their nutritional value and intense flavors. Harvesting them at the right time is crucial to maximize these benefits. Unlike mature plants, microgreens are harvested early in their growth cycle, typically just after the first true leaves have developed. This phase is when they are at their peak in terms of flavor and nutritional density. Understanding the growth cycle of microgreens is key to reaping their full potential.
Identifying the Right Time to Harvest
To harvest microgreens at their best, it’s essential to recognize their growth stages. The process begins with germination, followed by the cotyledon stage, where the first set of leaves appear. These are not the true leaves but rather part of the seed’s embryo. The true leaf stage comes next, characterized by the growth of leaves that resemble those of the fully-grown plant. Typically, microgreens are ready to harvest when they are 1-3 inches tall and have developed their first true leaves. The leaves should look vibrant and the stems should be sturdy. Harvesting before the true leaves develop may result in less flavor, while waiting too long can lead to tougher textures.
Varieties and Their Specific Harvest Times
Different microgreens have varying growth rates and optimal harvest times. Let’s look at a few common examples:
- Radish Microgreens: These grow rapidly and are usually ready to harvest in about 5-7 days after planting. They should be harvested once the first true leaves start to form, offering a spicy, crisp flavor.
- Kale Microgreens: Kale takes a bit longer, typically ready in 8-12 days. The leaves should be deep green with a rich, slightly sweet taste when harvested at the right time.
- Arugula Microgreens: Arugula microgreens are ready in about 7-10 days. Harvest them when they have two to three true leaves for a peppery flavor.
Each variety has its unique indicators for the right harvest time. Observing these subtle changes requires regular monitoring and some experience. Over time, gardeners can develop a sense for when their microgreens are at the peak of flavor and texture.
Tools and Techniques for Harvesting
Choosing the right tools is vital for efficient and safe harvesting of microgreens. Sharp scissors or a clean knife are ideal for cutting the delicate stems. Some gardeners also use specialized microgreen harvesters for larger batches. The key is to cut the microgreens just above the soil line, ensuring that you collect the leaves and stems while leaving the roots behind. This technique not only maximizes yield but also helps in maintaining cleanliness by avoiding soil contact.
Harvesting should be done gently to prevent crushing the tender plants. It’s recommended to hold a small bunch of stems and cut with a single, smooth motion. This method reduces damage to the plants and keeps them fresh for longer. If you plan to harvest microgreens regularly, consider using a harvesting tray to streamline the process.
Post-Harvest Handling
After harvesting, microgreens require proper handling to maintain their freshness. Washing them gently under cold water can remove any soil or debris. It’s important to do this carefully to avoid bruising the delicate leaves. After washing, lay the microgreens on a clean towel or use a salad spinner to dry them gently.
Storing microgreens can be challenging due to their high moisture content. The best way to store them is in a container lined with a paper towel, which helps absorb excess moisture. Keep the container in the refrigerator, ideally at temperatures between 2°C and 4°C (35°F and 39°F). Properly stored, most microgreens can last up to a week, retaining their freshness and nutritional value.
Including microgreens in your diet is easy and versatile. They can be used as a garnish, added to salads, sandwiches, or blended into smoothies. Their intense flavors and textures can elevate even the simplest dishes. Experimenting with different varieties in your cooking can be both fun and beneficial for your health.
Troubleshooting Common Issues
Even with careful attention, you might encounter some issues while growing and harvesting microgreens. One common problem is overgrowth, where microgreens become leggy and tough. This usually happens if they are left to grow for too long. On the other hand, harvesting too early can result in underdeveloped flavors and textures. It’s important to find the right balance based on the variety and growing conditions.
Mold is another challenge that can arise due to excessive moisture or poor air circulation. Ensuring proper spacing between seeds and adequate ventilation can help prevent this issue. If you notice poor growth or discoloration, it might be due to inadequate light or nutrients. Adjusting these factors can significantly improve the quality of your microgreens.
Adjusting Growing Conditions for Better Harvests
Sometimes, the quality of your microgreens harvest can be affected by the growing conditions. Adequate light is crucial for healthy growth. If your microgreens are leggy or pale, they might need more light. On the other hand, too much heat can cause wilting or dryness. Keeping your growing area at a consistent temperature, ideally between 18°C and 24°C (65°F and 75°F), is essential for optimal growth.
Watering practices also play a significant role. Microgreens prefer consistent moisture but do not tolerate waterlogged conditions. Use a fine mist sprayer for watering to prevent disturbing the delicate seedlings. Over-watering can lead to root rot or mold, while under-watering might stress the plants, affecting their growth and flavor.
Nutrient-rich, well-draining soil helps in producing robust and flavorful microgreens. While they don’t require as much fertilization as mature plants, a balanced soil mixture can enhance their growth. Pay attention to the soil’s pH level as well; a slightly acidic to neutral pH is ideal for most microgreens.
Conclusion
Harvesting microgreens at the right time is a skill that enhances their flavor, texture, and nutritional value. By understanding the specific needs of different varieties, using the right tools and techniques, and adjusting growing conditions as needed, you can consistently produce high-quality microgreens. These tiny greens are not only a healthy addition to your diet but also a delightful way to add color and flavor to your meals.
Experiment with different types of microgreens to discover your favorites. Whether you’re a beginner or an experienced gardener, the world of microgreens offers a rewarding and accessible gardening experience.


