
Lupines, renowned for their striking and colorful flower spikes, are a favorite among gardeners and flower enthusiasts. These beautiful plants not only add a vibrant touch to gardens but also intrigue with their unique blooming patterns. A common question among lupine admirers is regarding the duration of their bloom. This article explores the blooming period of lupines and the factors that influence it. Overview of Lupines Lupines are part of the legume family and are known for their...

Spanish moss, with its distinctive draping and silvery-gray appearance, is a quintessential element of the Southern United States’ landscape, particularly in historic and coastal regions. Despite its beauty and cultural significance, there’s a common concern about its impact on the health of trees it adorns. Does Spanish moss harm or even kill the trees it grows on? This article aims to demystify the relationship between Spanish moss and its host trees. Spanish Moss Spanish...
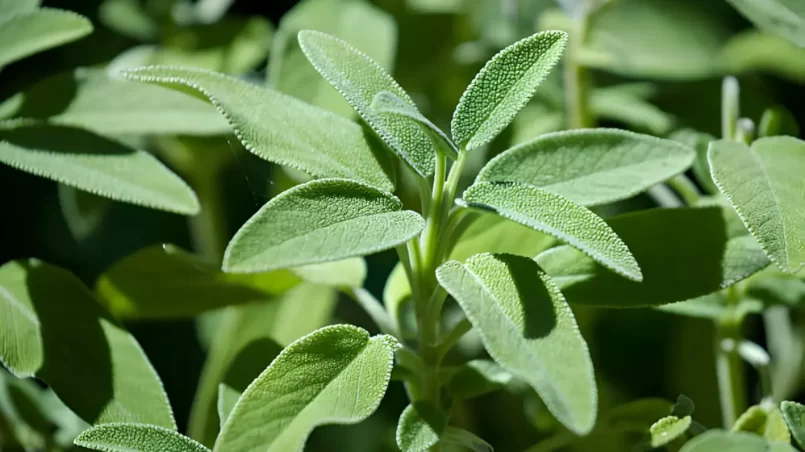
Sage, renowned for its culinary and medicinal uses, has long been a staple in gardens and kitchens worldwide. Beyond its popular use as a seasoning, sage is often touted for its ability to repel insects. This article examines the bug-repelling properties of sage, exploring both traditional beliefs and scientific evidence. Overview of Sage Sage, or Salvia officinalis, is a perennial herb belonging to the mint family. It is characterized by its woody stems, grayish leaves, and purplish...

Kentucky bluegrass is a favored turfgrass known for its lush, vibrant appearance and resilience, making it a popular choice for lawns and landscapes across many regions. A common inquiry among homeowners and landscapers is regarding its growth behavior, specifically its ability to spread and cover ground. This article explores the spreading habits of Kentucky bluegrass and their implications for lawn care. Characteristics of Kentucky Bluegrass Kentucky bluegrass, scientifically known as...

Rats are known for their adaptability and survival skills, which include a highly opportunistic approach to feeding. A less known, yet intriguing aspect of their behavior is cannibalism, leading to the question: do rats eat other rats? This article delves into the dietary habits of rats and explores the circumstances under which they might engage in cannibalism. Rats’ Dietary Preferences Rats are omnivorous creatures, meaning their diet encompasses both plant and animal matter. They...
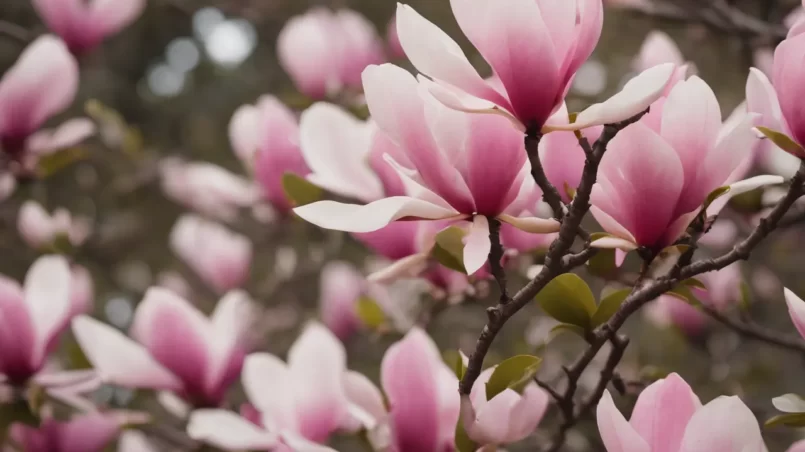
Magnolia trees, with their grandeur and striking blooms, are a splendid sight in any landscape. A common query about these trees concerns their foliage: do magnolia trees lose their leaves? Understanding whether magnolia trees are deciduous or evergreen is essential for gardeners and tree enthusiasts. Overview of Magnolia Trees Magnolias are known for their large, fragrant flowers and broad leaves. These trees can vary significantly in size and appearance, from small shrubs to towering...