Imagine having the ability to take a patch of lush, green grass from one area of your garden and move it to another area that’s bare or lacking in vitality. Sounds like garden magic, right? Well, that’s exactly what grass transplantation can do! It’s a simple, yet effective, gardening technique that can help you repair lawn damage, fill in bare spots, or even create a new lawn area. This process, while it requires some patience and a bit of elbow grease, can save you time and money compared to planting new grass seed or laying sod. So, whether you’re a seasoned gardener or a green-thumbed newbie, get ready to dive into the world of grass transplantation!
When is the Best Time to Transplant Grass
Just like other gardening activities, timing plays a crucial role in grass transplantation. The ideal time to transplant grass depends on the type of grass and your local climate, but generally, the best times are during periods of active growth.
For cool-season grasses (like Fescue, Ryegrass, and Bluegrass), the best times to transplant are during the early spring or early fall. These grass types thrive in cooler temperatures and the moderate weather during these periods provides an excellent environment for the grass to establish roots in their new location.
For warm-season grasses (like Bermuda, Zoysia, and St. Augustine), late spring to early summer is the most favorable period for transplantation. These grass types love the heat and will establish quickly when temperatures are consistently warm.
Remember, the key is to give the transplanted grass enough time to establish in its new location before it has to face stressful conditions like extreme heat, cold, or drought.
Tools and Materials Needed
Transplanting grass is a hands-on task, but don’t worry, you won’t need any fancy equipment. Here’s a list of tools and materials you’ll need:
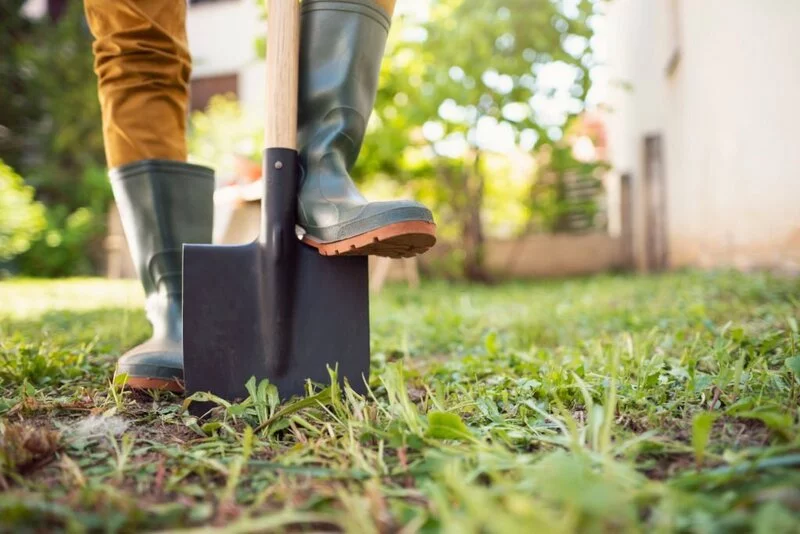
- Spade or Sod Cutter: To lift patches of grass out of the ground, you’ll need a good spade or, if you have one, a sod cutter.
- Garden Cart or Wheelbarrow: To transport the grass patches from the original site to the new site.
- Garden Hose or Watering Can: For watering your transplanted grass.
- Soil Amendment Materials: Depending on the condition of your soil, you may need compost or a slow-release fertilizer to boost the nutrient content.
- Rake: To prepare and level the new site before transplanting.
Remember, safety first! Consider wearing garden gloves to protect your hands and garden boots to protect your feet.
Preparing the New Site
Before you start moving grass around, it’s important to prepare the new site where the grass will be transplanted. Here’s how to do it:
- Clear the Site: Remove any debris, rocks, or old roots from the area.
- Check the Soil: Test the soil to ensure it’s suitable for grass growth. Most grasses prefer a pH between 6.0 and 7.5. You can buy a simple soil testing kit from a garden store or online.
- Amend the Soil: Based on your soil test, you may need to add organic matter or a slow-release fertilizer to improve soil fertility.
- Level the Area: Use a rake to level the ground. This ensures that the transplanted grass will sit at the right height and won’t have any puddles after watering.
How to Transplant Grass: Step-by-Step Guide
Now it’s time to put those gardening gloves to work! Here’s how to transplant grass:
- Cut the Grass: Using your spade or sod cutter, cut out a section of grass from the donor area. Aim for a depth of about 2-3 inches to include some soil and roots.
- Lift the Grass: Carefully lift the cut-out section of grass. Be gentle to avoid damaging the roots.
- Move the Grass: Using your garden cart or wheelbarrow, transport the grass section to the prepared site.
- Position the Grass: Place the grass section onto the prepared site. Ensure it’s level with the surrounding soil to promote even growth.
- Press Down: Press down on the grass patch to ensure good contact between the roots and the soil.
- Water Thoroughly: Water the transplanted grass thoroughly. This helps to settle the soil and reduces transplant shock.
- Repeat: Continue this process until you’ve transplanted all the necessary grass sections.
- CONVERTIBLE CART WITH QUICK ASSEMBLY: This garden wagon’s durable steel mesh frame is easy to assemble, and the innovative removable side panels let you quickly convert the outdoor wagon into a flatbed cart for hauling bigger loads
- EASY TO MANEUVER: The 10-inch pneumatic tires, tight-turn radius and smooth steering, ample ground clearance, and sturdy 4-wheel design let you tackle any terrain with stability and ease
- 400 POUND CAPACITY: Tow all your essentials with this heavy-duty garden cart’s 400-pound capacity and 34″ x 18″ bed
- STRAIGHT PULL HANDLE: The comfortable, straight pull handle makes hauling heavy loads for landscaping or gardening projects a breeze
- YEARS OF QUALITY & INNOVATION: Gorilla Carts are designed for strength and performance to help get your projects done no matter the size, and have fun doing them; this yard cart has a 1-year warranty
Caring for the Transplanted Grass
After the transplant, your grass will need some extra love and care to help it establish in its new home:
- Water Regularly: For the first few weeks, keep the transplanted grass well-watered. This helps the grass recover from transplant shock and encourages the roots to grow deep into the soil.
- Mow Carefully: Wait until the grass is actively growing before mowing. And when you do mow, be gentle. Adjust your mower to a higher setting to avoid cutting the grass too short.
- Monitor Growth: Keep an eye on the transplanted grass. If it’s looking a bit pale or weak, it might need a little extra fertilizer to boost its nutrient intake.
Remember, like all living things, grass needs time to adjust and grow. Be patient, and with your care and attention, the transplanted grass will soon be thriving in its new location! In the next section, we’ll address some common problems you might encounter and how to overcome them. Let’s keep going!
- Powerful Irrigation: The lawn sprinkler 360 degrees automatic rotating water spray with 3 adjustable rotating arms and 12 built-in different angle spray nozzles. You can adjust the sprinkling angle to 45 degrees or 90 degrees to achieve what you want watering effects.
- Immense Coverage: This 360-degree rotating sprinkler can irrigate a distance of 26-32.8ft under a water pressure of 80 PSI, and the average coverage area is 3,600 square feet. The water from this sprinkler is sprayed evenly like raindrops to irrigate every corner of the garden and lawn.
- Multi-Purpose: Outdoor sprinkler is ideal for irrigating gardens, lawns, backyards, vegetable gardens, trees, tall plants. It can also be used as a fun sprinkler for children, big kids to play and cool down in on hot and sunny days.
- Water-Saving: This garden lawn sprinkler uses a water conservation design that is sprayed evenly to make full use of water resources. And it rotates 360 degrees for spraying without water clogging, which can better water the lawn without over-spraying.
- Durable Structure: The water sprinkler irrigation system is made of high-quality thick ABS material and equipped with TPR encapsulated sides. This durable grass sprinkler is super easy to use and takes seconds to complete the installation.
Common Problems and Solutions in Transplanting Grass
Transplanting grass might come with a few challenges, but don’t worry, here are some common problems and their solutions:
- Transplanted Grass Isn’t Rooting Well: If the transplanted grass isn’t rooting well, it might not be getting enough water. Ensure you’re watering deeply and frequently for the first few weeks after transplanting.
- Transplanted Grass is Wilting or Turning Brown: This might be a sign of transplant shock. It’s normal for plants to experience some shock after being moved. Continue to care for the grass as usual, and it should recover with time.
- New Site Has Poor Drainage: If water stands on the surface for a long time after watering, you may have a drainage problem. Consider improving soil structure by adding organic matter or installing a simple drainage system.
- Pests or Disease: If you notice signs of pests or disease, act quickly. Identify the problem and use the appropriate organic or chemical treatment.
Conclusion
Congratulations! You’ve taken a journey through the process of grass transplantation. From learning about the best time to transplant grass to caring for your newly transplanted lawn, you now have the knowledge to spruce up your garden. Remember, grass transplantation is not just a task; it’s an art. An art that brings with it the joy of creating something beautiful and the satisfaction of seeing your hard work bear fruit (or, in this case, grass). So, embrace the process, take up the challenge, and transform your garden with your newfound skills.


