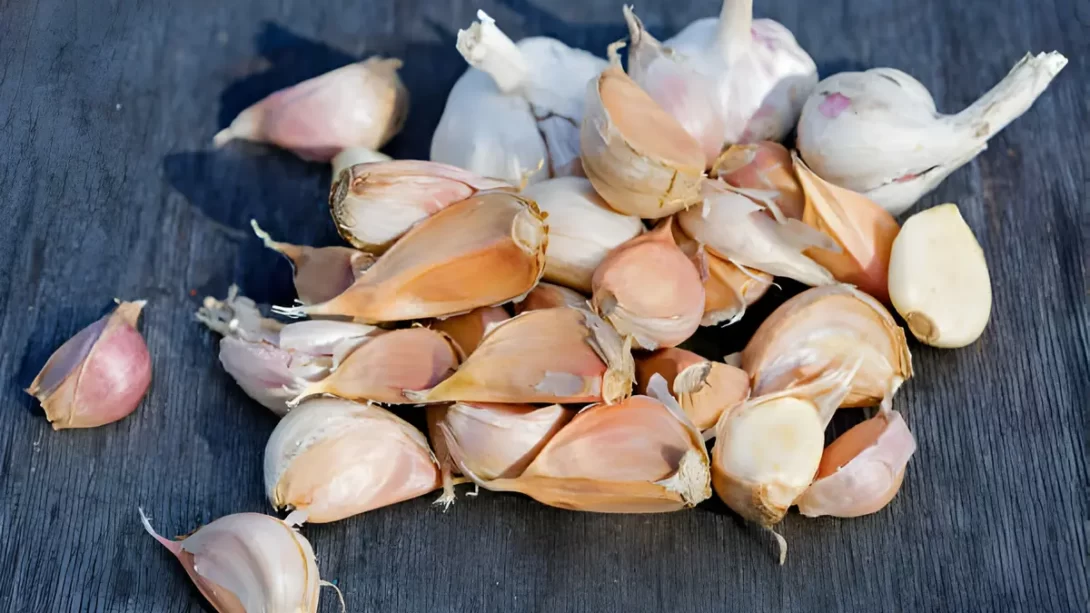
Garlic, a staple in kitchens worldwide, is not only prized for its culinary uses but also for its ease of cultivation. Separating garlic cloves correctly is a critical step in planting, which can significantly impact the health and yield of your garlic plants. The best time to plant garlic is in the fall, a few weeks before the ground freezes, allowing the roots to establish before winter.
Garlic Bulbs
A garlic bulb is composed of multiple cloves, each capable of growing into a new plant. There are two main types of garlic: Allium sativum var. ophioscorodon, commonly known as hardneck garlic, and Allium sativum var. sativum, known as softneck garlic. Hardneck varieties are known for their distinct central stalk and richer flavor, while softneck types are more common, having flexible stems ideal for making garlic braids. Using high-quality, disease-free bulbs is essential for a successful garlic crop.
Preparing for Separation
Choosing the right bulbs for planting is the first critical step. Select large, healthy bulbs from a reputable nursery or garden center. Avoid using supermarket garlic as it may be treated to reduce sprouting and could carry diseases. No special tools are needed for separating garlic cloves, but having clean hands or gloves can prevent the transfer of any soil-borne diseases. The separation process should ideally be done just before planting to ensure the cloves do not dry out or lose viability.
Step-by-Step Guide to Separation
- Gently Loosening the Outer Skin: Start by carefully removing the outer layers of papery skin from the bulb, ensuring not to damage the cloves inside. This skin can sometimes be tight and tough, but gentle pressure should reveal the individual cloves.
- Careful Separation of Individual Cloves: Once the outer skin is removed, identify the basal plate of the bulb – the point where the cloves are attached. Gently break the cloves apart from this point, taking care not to damage the base of the cloves, as this is where the roots will develop.
- Identifying and Discarding Damaged Cloves: Inspect each clove as you separate them. Look for signs of disease, damage, or rot. Discard any cloves that appear unhealthy, as they might not sprout or could spread disease to other plants.
- Keeping the Basal Plate Intact: Ensure that the basal plate remains intact on each clove. This part is crucial for healthy root development. If the basal plate is damaged, the clove might not grow properly.
Post-Separation Care
After separating the cloves, if you’re not planting them immediately, store them in a cool, dry place. Avoid areas with high humidity or direct sunlight, as these conditions can lead to sprouting or rot. Ideally, cloves should be planted within a few days of separation to maintain their viability. If the cloves begin to sprout while in storage, they should still be planted but with extra care to not damage the fragile shoots.
Planting Tips
For a successful garlic crop, consider the following planting tips:
- Best Soil Conditions for Garlic: Garlic thrives in well-drained, fertile soil rich in organic matter. Prepare the planting bed by loosening the soil and adding compost or well-rotted manure to enhance fertility.
- Planting Depth and Spacing for Cloves: Plant the cloves with the pointed end up and the basal plate down. The cloves should be planted about 2 inches deep and spaced 4 to 6 inches apart. In rows, keep a distance of about 12 to 18 inches between each row to allow for adequate airflow and growth.
- Tips for Ensuring Successful Germination: Mulching with straw or leaves can help maintain soil moisture and temperature, protect against harsh winter conditions, and suppress weed growth. Water the cloves lightly after planting and continue to provide consistent moisture during the growing season, especially during dry periods.
Conclusion
Separating garlic cloves for planting is a simple yet crucial process. By following these steps, gardeners can ensure a healthy start for their garlic plants. Planting your own garlic not only offers the joy of growing but also provides a fresh, flavorful supply for your kitchen. Whether you’re a beginner or an experienced gardener, planting garlic is a rewarding endeavor that enhances any garden.


