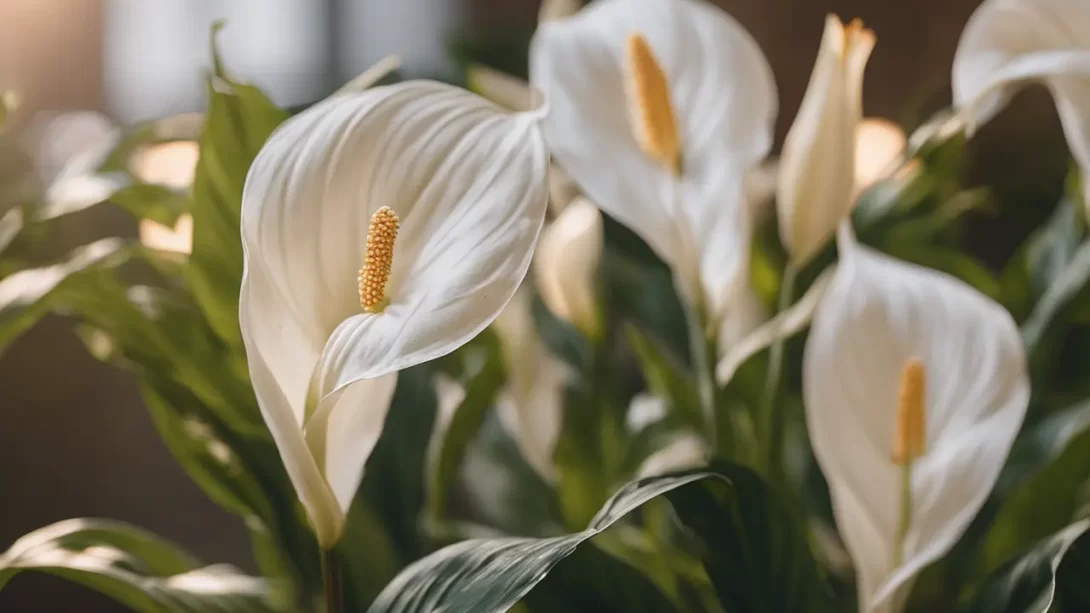
Peace Lilies, known for their lush foliage and elegant white blooms, are popular houseplants that bring a touch of tranquility to any indoor space. While they are relatively low-maintenance, repotting is a critical aspect of their care routine. Repotting not only provides fresh soil and room for growth but also addresses issues like root crowding and nutrient depletion. It’s important to recognize when your Peace Lily needs repotting and to do it correctly to ensure the plant’s continued health and vitality.
When to Repot
Peace Lilies typically need repotting every 18-24 months, but this can vary depending on their growth rate and environment. Signs that your Peace Lily is ready for a new pot include roots growing out of the drainage holes, water draining too quickly (indicating the plant is root-bound), or the soil drying out faster than usual. Additionally, if you notice a slowdown in growth or the leaves turning yellow, it might be time to consider repotting.
Selecting the Right Pot and Soil
Choosing the right pot is crucial for the health of your Peace Lily. The new pot should be 1-2 inches larger in diameter than the current one, allowing room for growth without being too spacious. Excessively large pots can lead to waterlogging, which is detrimental to the plant. Opt for pots with adequate drainage holes to prevent water accumulation at the bottom.
When it comes to soil, Peace Lilies thrive in well-draining, rich potting mix. A good choice is a mix designed for indoor plants, which typically includes components like peat, perlite, and vermiculite. This type of soil ensures proper drainage and aeration, providing the right conditions for root health and growth.
Preparing for Repotting
Before you start repotting, it’s important to prepare your workspace. Choose a spot where you can work comfortably, like a table or bench. Lay down newspaper or a tarp to make cleanup easier. It’s also a good idea to water your Peace Lily a day before repotting. Moist soil adheres better to the roots and reduces the shock to the plant during the transition. Ensure the plant and soil are at room temperature to avoid stressing the Peace Lily.
The Repotting Process
- Gently Remove the Plant: Begin by carefully tilting the pot and gently coaxing the Peace Lily out. If the plant is root-bound, you may need to tap the bottom of the pot or run a knife around the edge to help release it. Be gentle to avoid damaging the roots.
- Examine and Trim the Roots: Once removed, inspect the root system. Trim away any dead, damaged, or excessively long roots with a clean pair of scissors or pruning shears. This step is crucial for promoting healthy root growth in the new pot.
- Place in New Pot: Set your Peace Lily in the new pot. The top of the root ball should be about an inch below the rim of the pot to leave room for watering. Center the plant and start adding your prepared potting mix around the roots. Gently firm the soil to eliminate large air pockets, but be careful not to compact it too much, as this can hinder water flow and root growth.
- Fill with Soil: Continue adding soil until the root ball is fully covered and the soil is level. Leave some space below the pot’s rim to allow for easy watering.
Aftercare for Repotted Peace Lilies
After repotting, proper aftercare is essential to help your Peace Lily adjust to its new environment. Water the plant thoroughly right after repotting to settle the soil and eliminate any remaining air pockets. However, be careful not to overwater, as Peace Lilies are sensitive to soggy soil.
Place the repotted Peace Lily in a location with indirect light and avoid direct sunlight, which can be too harsh for the plant, especially when it’s recovering from the stress of repotting. Maintain a consistent watering routine, allowing the top inch of soil to dry out between waterings.
It’s normal for the plant to show some signs of stress, like drooping or yellowing leaves, as it adapts to its new pot. Give it time to adjust, and continue to provide regular care. Avoid fertilizing immediately after repotting; wait a few weeks to allow the plant to establish itself in the new soil.
Troubleshooting Common Post-Repotting Issues
If you notice your Peace Lily struggling after repotting, it’s important to address the issue promptly. Common problems include wilting, which could be due to either overwatering or underwatering. Check the soil moisture and adjust your watering schedule accordingly. If leaves start to turn yellow or brown, consider whether the plant is getting too much direct sunlight or if there’s a watering imbalance. Remember, Peace Lilies are resilient, and with proper care, they can quickly recover from repotting stress.
Regular Monitoring and Adjustments
In the weeks following repotting, keep a close eye on your Peace Lily. Regular monitoring helps in catching any issues early and adjusting care routines as needed. Be attentive to changes in leaf color, texture, or growth patterns, as these can be indicators of the plant’s overall health. If the leaves appear too dark or stretched out, the plant may need more light. Conversely, signs of scorching or fading suggest that the plant is receiving too much direct sunlight.
Gradual Introduction to Normal Care
After the initial adjustment period, gradually transition your Peace Lily back to its regular care routine. This includes resuming fertilization, but start with a half-strength dose to avoid overwhelming the plant. Peace Lilies benefit from a balanced, water-soluble fertilizer every 6-8 weeks during their growing season. Also, consider the indoor environment – Peace Lilies prefer a humid atmosphere, so if your home is dry, especially in winter, use a humidifier or a pebble tray with water to increase humidity.
Long-Term Care for a Thriving Peace Lily
Looking ahead, proper long-term care will ensure your Peace Lily thrives in its new pot. Continue to water when the top inch of soil feels dry, but be cautious not to overwater. Ensure the plant receives bright, indirect light, and rotate it periodically for even growth. Regularly dust the leaves to allow for efficient photosynthesis and maintain the plant’s aesthetic appeal.
Peace Lilies are also sensitive to chlorine and other chemicals commonly found in tap water. If possible, use filtered or distilled water to prevent leaf tip burn. Additionally, keep an eye out for common pests such as spider mites or aphids, and address any infestations promptly.
Conclusion
Repotting a Peace Lily may seem daunting, but with the right approach, it can be a straightforward and rewarding process. By understanding when and how to repot, providing the appropriate aftercare, and maintaining a healthy environment, your Peace Lily can continue to flourish and bring beauty to your indoor space. Regular care, attention, and a bit of patience are key to enjoying the lush foliage and elegant blooms of this beloved houseplant for years to come.