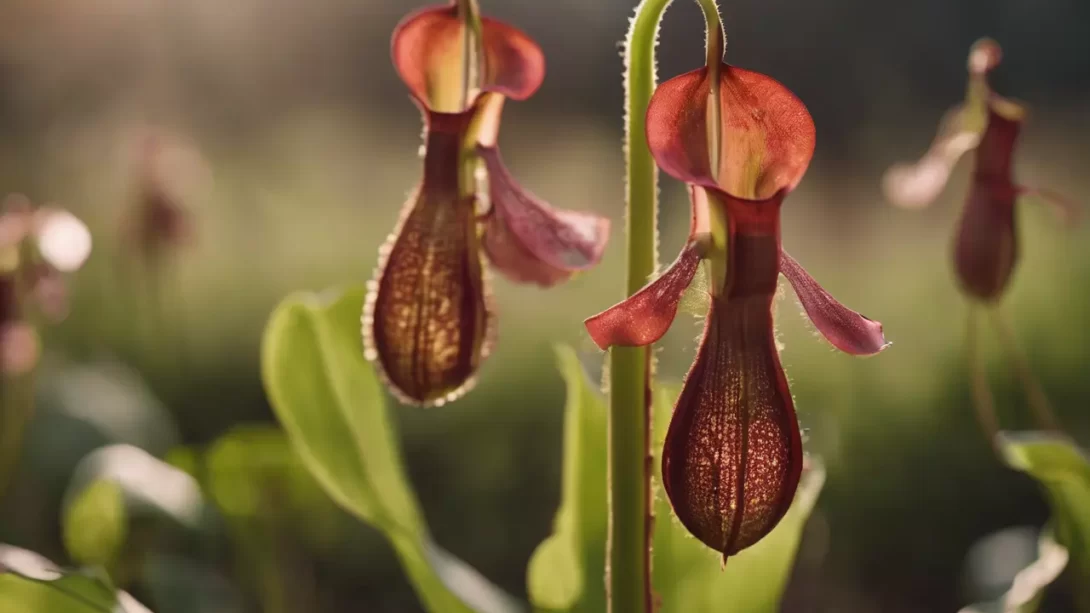
Pitcher plants, with their unique carnivorous traits, are fascinating additions to any garden or indoor plant collection. They are known for their distinct pitcher-shaped leaves that trap and digest insects. Propagating these exotic plants is not only rewarding but also essential for expanding your collection or rejuvenating older plants. This article explores the various methods of propagating pitcher plants, each tailored to the needs of different species and the preferences of the gardener.
Pitcher Plant Varieties
Pitcher plants are broadly classified into two main types: Sarracenia, commonly found in North America, and Nepenthes, predominantly from Southeast Asia. Each type has specific requirements for successful propagation. For instance, Sarracenia often responds well to division, while Nepenthes can be propagated through stem cuttings. Knowing the particular variety of your pitcher plant is crucial as it dictates the most effective propagation method.
Propagation Methods for Pitcher Plants
Division
Division is one of the simplest and most effective methods for propagating many varieties of pitcher plants, especially Sarracenia. It involves separating the plant into smaller parts, each with its own roots and shoots. The best time to divide pitcher plants is during their dormancy period, usually in late winter or early spring. This minimizes stress on the plant and allows it to recover and grow vigorously during the growing season.
- Preparing for Division: Begin by gently removing the plant from its pot and shaking off excess soil to expose the root system. This makes it easier to identify natural divisions in the plant.
- Dividing the Plant: Look for sections of the plant that have their own root systems. Using a sharp, sterilized knife or scissors, carefully separate these sections, ensuring each division has a good amount of roots and at least one growing point.
- Potting Divisions: Plant each division in its own pot filled with appropriate pitcher plant potting mix. This mix typically includes ingredients like peat moss and perlite, which provide the acidic and well-draining conditions pitcher plants thrive in.
- Aftercare: Immediately after potting, water the divisions thoroughly. For the first few weeks, keep the soil consistently moist and place the plants in indirect light. Gradually introduce them to their typical growing conditions, which often include bright, indirect sunlight and higher humidity.
Division is an excellent way to multiply your pitcher plant collection and can also rejuvenate older plants that have become too crowded. It’s a straightforward process that can yield multiple new plants from a single mature specimen.
Stem Cuttings
Stem cuttings are a popular method for propagating Nepenthes pitcher plants. This technique involves cutting a part of the stem and encouraging it to develop roots. Stem cuttings are ideal for creating identical clones of the parent plant.
- Taking Stem Cuttings: Choose a healthy stem with several leaf nodes. Cut a 4-6 inch section of the stem, making sure there are at least 2-3 nodes on the cutting. Use a clean, sharp knife or scissors to make a clean cut.
- Preparing the Cutting: Remove the lower leaves, leaving only a couple at the top. If available, apply rooting hormone to the cut end to encourage root development. This step is optional but can increase the success rate.
- Rooting the Cutting: Plant the cutting in a well-draining, sphagnum moss-based substrate. Ensure that at least one node is buried in the substrate, as this is where roots will develop.
- Creating Ideal Conditions: Place the cutting in a high-humidity environment. You can cover it with a plastic bag or place it in a terrarium to maintain humidity. Keep the cutting in bright, indirect light and ensure the substrate stays moist but not waterlogged.
- Root Development and Aftercare: Roots typically begin to develop within a few weeks to a couple of months. Once a good root system is established, gradually acclimate the plant to less humid conditions and care for it as you would a mature pitcher plant.
Leaf Cuttings (for Applicable Species)
Leaf cuttings can be used for certain types of pitcher plants, especially some Nepenthes species. This method involves using a part of the leaf to grow a new plant.
- Selecting a Leaf: Choose a healthy, mature leaf. Cut a portion of the leaf, ensuring it includes a vein.
- Preparing and Planting the Leaf: Place the leaf section on a moistened mixture of peat and perlite, with the vein side down. Gently press it into the substrate.
- Encouraging Growth: Cover the leaf cutting with a plastic dome or bag to maintain humidity. Place it in a warm area with bright, indirect light.
- Monitoring and Aftercare: Keep the substrate consistently moist. In a few weeks to months, new shoots should emerge from the veins. Once they have grown sufficiently, they can be carefully separated and potted individually.
Seed Propagation
Growing pitcher plants from seeds can be a slow yet rewarding process. It allows gardeners to potentially develop new hybrids or variations.
- Collecting Seeds: If you have flowering pitcher plants, you can collect seeds once the flowers have been pollinated and the seed pods have matured.
- Sowing Seeds: Sow the seeds on the surface of a moist sphagnum moss or a peat-perlite mix. Do not cover the seeds, as they need light to germinate.
- Germination Conditions: Place the seed tray in a warm, bright location. The substrate should be kept consistently moist. Germination can take several weeks to a few months, depending on the species and conditions.
- Seedling Care: Once the seedlings emerge, continue to provide them with high humidity and bright, indirect light. Transplant them into individual pots when they are large enough to handle.
Post-Propagation Care
After successfully propagating pitcher plants, the next crucial step is their post-propagation care. This phase is essential for the young plants to establish themselves and grow healthily. Watering should be done with distilled or rainwater, as pitcher plants are sensitive to minerals commonly found in tap water. Provide bright, indirect light, avoiding direct sunlight that can scorch the young plants. Feeding is not usually necessary immediately after propagation, as these plants derive nutrients from their carnivorous activity. However, a diluted, balanced fertilizer can be used sparingly once the plants have established.
Troubleshooting Common Propagation Issues
Even with careful attention, you may encounter challenges in pitcher plant propagation. Common issues include rotting cuttings, slow or no root development, and mold growth. To prevent rotting, ensure cuttings are not kept too wet and provide good air circulation. If roots are slow to develop, verify that the temperature and humidity are optimal. For mold issues, reduce humidity slightly and improve air flow. Regularly inspect your plants and address any problems promptly to ensure healthy growth.
Conclusion
Propagating pitcher plants can be a rewarding aspect of gardening, allowing you to expand your collection and enjoy these fascinating plants in various stages of growth. Whether you choose division, stem or leaf cuttings, or seed propagation, each method offers unique insights into the life cycle of these remarkable plants. With patience and care, you can successfully propagate pitcher plants and enjoy the fruits of your labor in your garden or home. Remember, each plant is unique, so don’t hesitate to experiment with different methods to find what works best for you and your plants.


