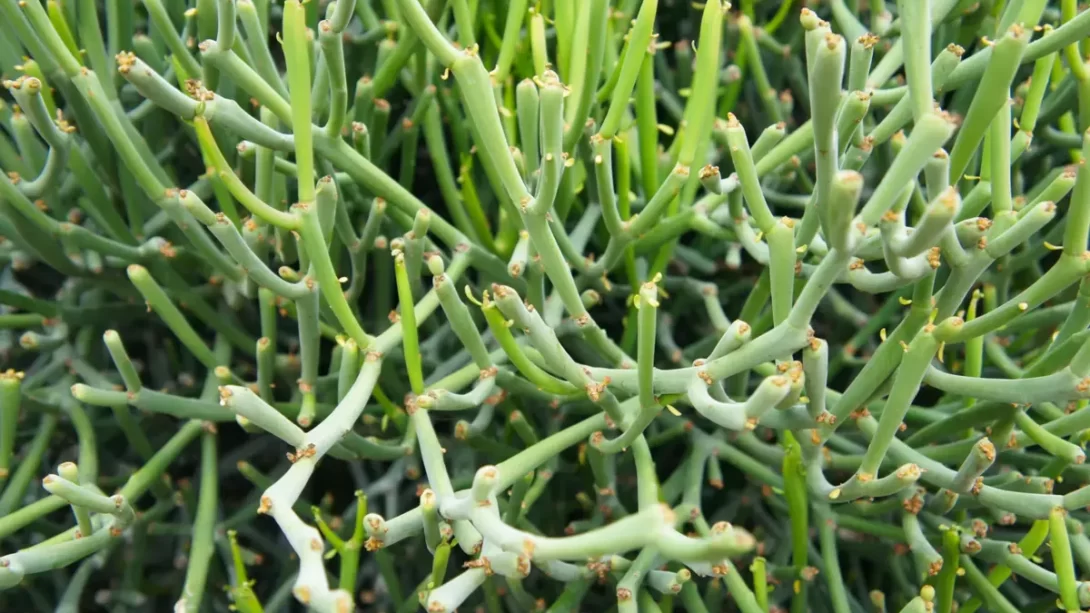
The pencil cactus (Euphorbia tirucalli) is a striking, easy-to-care-for houseplant known for its slender, pencil-like branches. Propagating this plant is a simple and rewarding process, allowing you to multiply your collection or share with friends. This guide will walk you through the steps of safely and successfully propagating a pencil cactus.
Safety Precautions
Before you start, it’s crucial to understand that pencil cactus contains a toxic sap that can be irritating to the skin and eyes. Always wear gloves when handling this plant, and consider eye protection if you are prone to touching your face. Work in a well-ventilated area and wash your hands and tools thoroughly after handling the plant to avoid sap transfer.
Tools and Materials Needed
To propagate your pencil cactus, you’ll need a few basic tools and materials:
- Sharp scissors or pruning shears, sterilized to prevent disease transmission.
- Gloves to protect your hands from the sap.
- Fresh potting mix, ideally a cactus or succulent blend that drains well.
- A small pot with drainage holes for planting the cutting.
Choosing the Right Stem for Propagation
Selecting a healthy stem is key to successful propagation. Look for a stem that is mature but still in active growth, ideally about 4 to 6 inches in length. It should be free from any signs of stress or damage, such as discoloration, scars, or pests. A healthy stem will have a better chance of rooting and growing into a robust new plant.
Preparing the Cutting
Once you have selected a suitable stem, use your sterilized scissors or pruning shears to make a clean cut. Cut at a 45-degree angle to increase the surface area for rooting. After cutting, it’s important to let the cutting dry and callous over for a few days before planting. This process helps to seal the cut and prevent rot when the cutting is planted.
Potting and Soil Requirements
For optimal growth, pencil cactus cuttings require well-draining soil. A cactus or succulent potting mix is ideal, as it is formulated to prevent water retention and promote aeration around the roots. If you’re making your own mix, combine regular potting soil with coarse sand and perlite or pumice in equal parts.
When selecting a pot, ensure it has adequate drainage holes to avoid waterlogging, which can be detrimental to the cutting. A small pot, about 3-5 inches in diameter, is typically sufficient for a single cutting. This size encourages root growth without providing so much space that the soil stays wet for extended periods.
Planting the Cutting
Planting your pencil cactus cutting properly is crucial for successful propagation:
- Planting Depth: Fill the pot with your chosen soil mix, leaving enough space to plant the cutting. Insert the calloused end of the cutting about 1-2 inches deep into the soil, ensuring it stands upright.
- Stabilizing the Cutting: Gently firm the soil around the base of the cutting to stabilize it. Be careful not to bury the cutting too deeply, as this can encourage rot.
- First Watering: Wait a few days before watering your newly planted cutting for the first time. This delay allows the cutting to acclimatize to its new environment and reduces the risk of root rot.
Aftercare for Propagated Cuttings
Newly planted pencil cactus cuttings require minimal but specific care to thrive:
- Watering: Water sparingly, allowing the soil to dry out completely between waterings. Over-watering can lead to root rot, particularly in newly planted cuttings.
- Light: Provide plenty of indirect sunlight. A bright, sunny window is ideal. Avoid direct, harsh sunlight initially, as it can stress the cutting.
Troubleshooting Common Issues
Even with careful attention, you may encounter a few challenges while propagating pencil cactus. One common issue is rot, which typically occurs due to overwatering or planting the cutting too deeply. If you notice the base of the cutting turning black or mushy, it’s a sign of rot. To salvage the cutting, trim off the rotted part, allow it to callous over again, and replant in dry soil.
Another issue can be the lack of root development. If your cutting doesn’t seem to be rooting, ensure it’s getting enough warmth and indirect light. Patience is key, as some cuttings can take several weeks to root. Avoid over-handling or frequently pulling the cutting out to check for roots, as this can damage the fragile new rootlets.
Conclusion
Propagating pencil cactus can be a simple and enjoyable process. By following these steps and providing the right conditions, you can successfully grow new plants from cuttings. Remember to handle the plant safely, use well-draining soil, and provide sufficient light and minimal water. With time and care, your pencil cactus cuttings will develop into healthy, thriving plants, adding a unique and attractive element to your home or garden. Enjoy the process of propagation and the satisfaction of watching new life grow from your efforts.


