Monstera, often known for its striking leaves and easy-care nature, is a favorite among indoor plant enthusiasts. Propagating Monstera in water is not only simple but also allows you to observe the fascinating root development process. This method is particularly appealing for its ease and effectiveness, making it ideal for beginners and experienced gardeners alike.
Necessary Supplies for Water Propagation
To begin the propagation process, you will need a few basic supplies. A healthy Monstera plant is essential for a successful propagation. You’ll also need a pair of clean, sharp scissors or pruning shears to make the cut. For the rooting process, a clear container or jar filled with water will be required. The transparency of the container allows you to monitor root development easily.
Selecting a Suitable Monstera Cutting
Choosing the right stem is crucial for propagation success. Look for a healthy stem with at least one mature leaf and a node. The node is a small, brownish nub on the stem from which roots will grow. It’s important that the selected cutting has at least one of these nodes. A stem with multiple leaves and nodes may increase your chances of success.
Preparing for the Cut
Before making any cuts, sterilize your cutting tools. This can be done with rubbing alcohol or a solution of one part bleach to nine parts water. Sterilizing your tools helps prevent the spread of disease to the cutting and ensures a healthier propagation process.
The Cutting Process
When cutting the stem, make a clean cut just below a node. The cut should be made at a 45-degree angle to increase the surface area from which roots can grow. Be careful not to damage the node. Once the cutting is taken, it can be placed directly in water. Make sure to remove any leaves that will be submerged to prevent rot.
Rooting the Monstera Cutting in Water
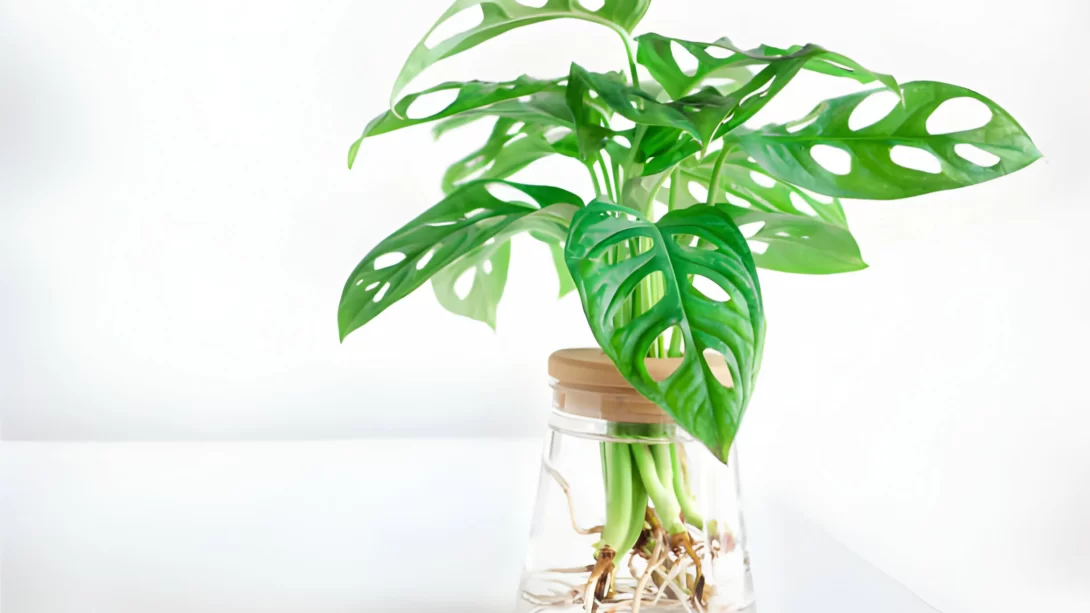
Rooting a Monstera cutting in water is a straightforward process. Place the cutting in your chosen container, ensuring the node is fully submerged. The type of water used can influence root growth; distilled, rainwater, or tap water left out overnight to dechlorinate are all suitable options. The cutting should be positioned in a spot with bright, indirect light. Avoid direct sunlight, as it can be too harsh and damage the cutting.
Best Practices for Changing the Water
- Regularly change the water in the container, ideally once a week. This practice keeps the water fresh and oxygen-rich, which is vital for healthy root development.
- When changing the water, inspect the cutting for any signs of rot or disease and remove any yellowing or dead leaves.
Monitoring Root Development
Root growth in Monstera cuttings can vary in time, typically starting within a few weeks. Healthy roots are white or light tan with a firm texture.
Identifying Healthy Root Development
- Look for multiple roots emerging from the node, a sign of a healthy cutting.
- If the roots appear brown or mushy, this could indicate rot, often due to poor water quality or infrequent water changes.
Troubleshooting Common Issues
- If there’s no sign of root growth after several weeks, consider changing the water more frequently or moving the cutting to a location with better indirect light.
- Root rot is a common issue in water propagation. If the cutting shows signs of rot, trim away the affected part and change the water before placing the cutting back.
Transplanting to Soil
Once the roots are a few inches long, the Monstera cutting is ready for soil transplantation. This usually happens several weeks to a few months after the initial cutting.
Preparing for Transplantation
- Choose a pot with drainage holes and fill it with a well-draining potting mix suitable for tropical plants.
- Gently plant the rooted cutting in the soil, ensuring the roots are fully covered but the stem and leaves are above the soil.
Post-Transplant Care
After transplanting your Monstera cutting into soil, it’s important to provide the right care to ensure a smooth transition and continued healthy growth. Here are some key aspects to focus on:
Watering
- Initially, keep the soil evenly moist but not waterlogged, as the roots are adjusting from water to soil.
- Once established, allow the top inch of soil to dry out between waterings. Overwatering can lead to root rot, a common issue in Monsteras.
Lighting
- Provide your Monstera with bright, indirect light. Direct sunlight can burn the leaves, while too little light can slow growth and reduce the leaf size.
- Gradually acclimate your plant to its new light conditions if they differ from its rooting environment.
Feeding
- Begin fertilizing your Monstera about a month after transplanting. Use a balanced, water-soluble fertilizer, diluted to half the recommended strength.
- Fertilize every 4-6 weeks during the growing season (spring and summer) and reduce feeding in fall and winter.
Ongoing Maintenance and Care
- Monitor the plant for signs of stress in the weeks following transplanting. Yellowing leaves or wilting can indicate watering issues or a need for more light.
- Regularly check for pests such as spider mites, aphids, and mealybugs, which can affect indoor plants. Treat any infestations promptly with appropriate methods.
Troubleshooting Post-Transplant Issues
Even with careful attention, some common issues may arise after transplanting:
Root Shock
- Signs include drooping or yellowing leaves. Ensure optimal watering and lighting conditions to help the plant recover.
Leaf Browning
- This can be due to overwatering, underwatering, or direct sunlight. Adjust care routines accordingly.
Stunted Growth
- If growth seems slow, consider adjusting light exposure, ensuring the plant is not root-bound, and verifying that the fertilizer application is adequate.
Conclusion
Propagating Monstera in water is not only a simple and enjoyable process but also a great way to expand your collection of these beautiful plants. By following these steps and providing the right care after transplantation, you can enjoy the rewards of nurturing a healthy, thriving Monstera. Remember, patience and observation are key in plant propagation and care.