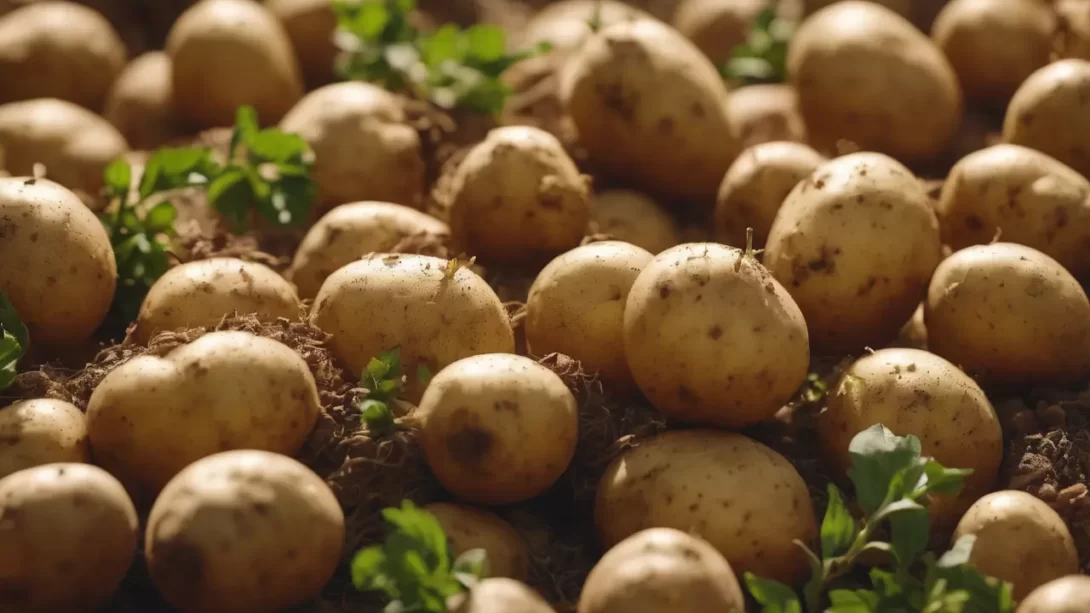
Planting potatoes from sprouted tubers is a rewarding and straightforward way to grow your own potato crop. This method utilizes the natural process of potato sprouting to give your plants a head start, leading to earlier and often more abundant harvests. Understanding how to properly plant and care for sprouted potatoes can yield excellent results in your vegetable garden.
Potato Sprouts
Potato sprouts emerge from the “eyes” of the potato as it ages. These sprouts are essentially the beginnings of new potato plants. For planting, look for healthy, robust sprouts – they should be firm and not too elongated. Long, spindly sprouts often indicate that the potato has been stored in poor light or cramped conditions and may not be as vigorous.
Selecting the Right Potatoes
When selecting potatoes for planting, opt for organic, disease-free tubers, as these are less likely to carry diseases into your garden. Different varieties of potatoes thrive in different climates and soil conditions, so choosing a variety that suits your local environment is crucial. Consider factors like maturity time and resistance to local pests and diseases when making your selection.
Preparing the Potatoes for Planting
Larger potatoes with multiple sprouts can be cut into smaller pieces for planting. Each piece should have at least one or two sprouts and enough flesh to sustain the sprout’s initial growth. After cutting, allow these pieces to cure for a day or two in a dry, sunny location. This curing process helps form a callus over the cuts, reducing the risk of rot and disease once planted.
Soil Preparation and Requirements
Potatoes thrive in well-draining, loamy soil rich in organic matter. Prepare your planting area by loosening the soil to a depth of about 12 inches and mixing in compost or aged manure to improve fertility and drainage. Ensure the soil pH is slightly acidic, ideally between 5.0 and 6.0, as potatoes can be prone to disease in more alkaline conditions. Also, ensure the planting site receives full sun, as potatoes need plenty of sunlight to grow well.
Planting the Sprouted Potatoes
When planting sprouted potatoes, follow these steps for optimal growth:
- Planting Depth and Spacing: Dig a trench about 4-6 inches deep. Place the sprouted potato pieces, sprouts facing upwards, in the trench, spacing them about 12 inches apart. For multiple rows, leave about 2-3 feet between rows to allow for plant growth and easy access for maintenance.
- Covering: Gently cover the sprouted pieces with soil. Don’t compact the soil too much as this can hinder growth.
- Initial Watering: Water the newly planted potatoes thoroughly to settle the soil around the sprouts.
Watering and Fertilizing
Proper watering is critical in the early stages of growth. Keep the soil consistently moist but not waterlogged, as excessive moisture can cause rot. As the plants grow, reduce watering to avoid over-saturation of the soil. When it comes to fertilizing, use a balanced, slow-release fertilizer at planting time. Avoid high nitrogen fertilizers, as they can encourage foliage growth at the expense of tuber development.
Ongoing Care and Maintenance
As potato plants grow, they require regular care to ensure a healthy and bountiful harvest. One important practice is hilling: as the plant grows, periodically mound soil around the base of the plant, covering the lower stem and emerging tubers. This protects the tubers from sun exposure, which can cause them to turn green and become toxic. Hilling also helps to keep the soil loose and moist around the roots.
Pests and diseases can affect potato crops, so it’s important to monitor your plants regularly. Common problems include potato beetles and blight. Use appropriate organic or chemical treatments if necessary, but always follow label instructions and consider the environmental impact.
Harvesting
Knowing when to harvest potatoes is key to enjoying your crop at its best. For new potatoes, you can start harvesting once the plants begin to flower, typically 2-3 months after planting. For mature potatoes, wait until the foliage starts to yellow and die back, which usually happens in late summer or early fall. Gently dig around the base of the plant with a spade or fork, being careful not to damage the tubers.
When harvesting, it’s best to do so on a dry day. If you plan to store the potatoes, cure them first by leaving them in a dry, sunny spot for a few hours to allow the skin to harden. This curing process helps extend their storage life.
Conclusion
Planting potatoes from sprouts is a rewarding process that can yield a plentiful harvest with the right care. By preparing your soil properly, planting at the correct depth and spacing, and providing ongoing care through watering, fertilizing, and hilling, you can enjoy a successful potato growing season. Remember to regularly check for pests and diseases and harvest your potatoes at the right time for the best flavor and storage potential. With these guidelines, you’re well on your way to a fruitful potato harvest!


