The art of making rows in a garden is a foundational skill for any gardener, serving both aesthetic and practical purposes. Properly aligned rows not only enhance the visual appeal of your garden but also promote healthy plant growth, facilitate irrigation, and make weed management more efficient. This guide will walk you through the steps of planning, preparing, and creating rows in your garden, setting the stage for a bountiful harvest.
Planning Your Garden Layout
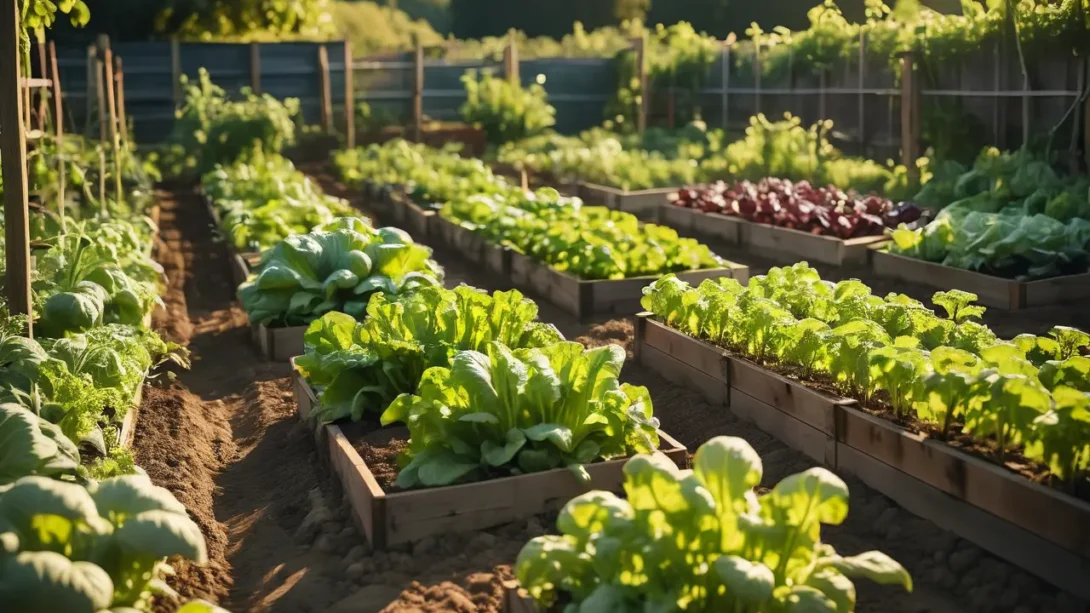
Before you break ground, spend time understanding your garden space. Observe the path of sunlight throughout the day, noting areas that receive full sun versus partial shade. This knowledge will help you decide where to place your rows for optimal plant health. Consider the type of garden layout that suits your space and needs—straight rows are traditional and efficient, but raised beds can offer better drainage and easier access to plants.
When planning your layout, also think about the types of plants you wish to grow and their spacing requirements. Some crops, like root vegetables, need more space between rows to expand, while leafy greens can be grown more closely. The goal is to maximize your garden’s productivity without overcrowding your plants.
Tools and Materials Needed
Gathering the right tools beforehand will make the process smoother. Essential tools include:
- Rake: For leveling the soil.
- Hoe: For creating the rows and trenches.
- String line and stakes: To ensure your rows are straight.
- Measuring tape: For accurate spacing between rows.
Optional tools that might help include a garden planner app for visualizing your layout and mulch for weed suppression and moisture retention once your rows are planted.
Preparing the Soil
A successful garden starts with well-prepared soil. Begin by clearing the area of weeds, rocks, and debris. Conduct a soil test to understand your soil’s nutrient levels and pH, adjusting as necessary with amendments like compost or lime. The best time to prepare your soil is in the fall for a spring planting, or at least a few weeks before you intend to plant, allowing time for any added organic matter to integrate with the soil.
Till or turn the soil to a depth of at least 8-12 inches to loosen it and encourage root growth. Rake the soil to a fine tilth, creating a smooth, level surface free of large clumps. This preparation ensures that water and nutrients can reach plant roots more effectively, promoting strong growth.
Marking Out Your Rows
Accurate row marking is crucial for maintaining order and maximizing space in your garden. Decide on the spacing between rows based on the mature size of the plants you’re growing. Use stakes and string lines to mark straight rows across the length of your garden. For precision, measure the distance between the lines with a tape measure, adjusting as needed to ensure even spacing. This step not only aids in planting but also in navigating the garden for maintenance and harvest.
Creating the Rows
After marking your garden’s layout, the next step is to physically create the rows. This process varies slightly depending on whether you’re working with flat ground or raised beds, but the principles remain the same.
- Forming Rows on Flat Ground: Use a hoe or the edge of a rake to dig a trench along the lines you’ve marked with your string. The depth and width of these trenches should be tailored to the specific needs of the plants you’re intending to grow. For most vegetables, a depth of about 2-4 inches is sufficient. After digging the trench, use the soil you’ve removed to build up the sides, forming a raised row. This technique improves drainage and creates a defined space for planting.
- Adjusting for Plant Needs: Some plants, especially root vegetables like carrots or beets, benefit from deeper rows, while shallow-rooted plants may need less depth. The width of the row should also accommodate the plant’s mature size—wider rows for larger plants and narrower for smaller ones.
- Creating Raised Rows: If you’re aiming for better drainage, especially in areas with heavy soil, use the hoe to mound soil into raised rows. These raised areas should be compact enough to support plant growth but loose enough to allow for easy root penetration.
Planting Your Garden
With your rows created, you’re ready to plant. Whether you’re sowing seeds directly into the garden or transplanting seedlings, proper placement is key to your garden’s success.
- Sowing Seeds: Read the seed packets for specific planting depths and spacing between plants. Use a finger, dibber, or the end of your hoe handle to make holes or small trenches for the seeds. Cover lightly with soil, press down gently for good seed-to-soil contact, and water carefully to moisten the soil without washing away the seeds.
- Transplanting Seedlings: For plants started indoors or purchased from a nursery, dig holes spaced according to the plant’s mature size. Gently remove the plant from its container, place it in the hole, and fill in around it with soil. Press down around the base of the plant to eliminate air pockets and water immediately to help establish roots in their new location.
Mulching and Watering Rows
Once your plants are in the ground, applying a layer of mulch can help conserve moisture, suppress weeds, and maintain even soil temperatures.
- Applying Mulch: Spread organic mulch, such as straw, shredded leaves, or wood chips, around the base of your plants. Keep the mulch a few inches away from the stems to prevent moisture-related diseases.
- Watering: Newly planted seeds and seedlings require consistent moisture to establish themselves. Water your rows deeply to encourage deep root growth, but avoid overwatering, which can lead to root rot. The frequency of watering will depend on your soil type, weather conditions, and the needs of your plants.
Ongoing Care and Maintenance
To ensure your garden rows thrive throughout the growing season, consistent care and maintenance are key. Here are essential practices to keep your garden healthy and productive:
Weeding and Thinning
- Weeding: Regular weeding is crucial to prevent competition for nutrients, water, and sunlight. Use a hoe or hand-weeder to remove weeds when they are small, taking care not to disturb the roots of your plants. Mulching also plays a significant role in suppressing weed growth.
- Thinning: If you’ve sown seeds directly into the garden, thinning is necessary to prevent overcrowding. Follow the spacing guidelines provided on the seed packet, removing excess seedlings to allow enough room for remaining plants to grow. This task might seem daunting, especially when removing healthy seedlings, but it’s essential for the development of robust plants.
Watering and Nutrient Management
- Watering: As plants grow, their water needs may increase. Continue to water deeply and less frequently to encourage strong root development. Early morning is the best time to water, reducing evaporation and the risk of fungal diseases.
- Nutrient Management: Depending on your initial soil preparation, additional fertilization might be necessary to support plant growth. Conduct a mid-season soil test to determine if specific nutrients are lacking. Use compost or a balanced fertilizer to provide a boost, applying it according to the product’s instructions or your soil test recommendations.
Pest and Disease Monitoring
- Monitoring: Regularly inspect your plants for signs of pests and diseases. Early detection is key to managing potential issues before they escalate.
- Integrated Pest Management (IPM): Employ IPM strategies to control pests and diseases with minimal impact on the environment. This might include physical barriers, like row covers, or biological controls, such as beneficial insects.
End-of-Season Care
- Crop Rotation: Planning for the next season, consider rotating crops to different rows to prevent soil depletion and reduce pest and disease buildup.
- Soil Care: At the end of the growing season, add organic matter like compost or leaf mold to replenish nutrients. Cover crops can also be planted in empty rows to protect and enrich the soil.
Troubleshooting Common Issues
Gardening is a learning process, and you may encounter challenges along the way. Uneven germination, pests, and diseases are common issues, but most can be managed with attention and care. Adjust watering practices if plants show signs of stress, and consult local extension services or gardening communities for advice on managing specific pests and diseases.
Conclusion
Creating and maintaining rows in your garden is a rewarding endeavor that can lead to a healthy and productive growing season. By planning your layout carefully, preparing the soil, accurately creating rows, and providing ongoing care, you can optimize your garden’s potential. Remember, each year offers a new opportunity to refine your techniques and grow your gardening knowledge. Embrace the challenges and celebrate the successes as you cultivate a garden that brings joy and abundance.