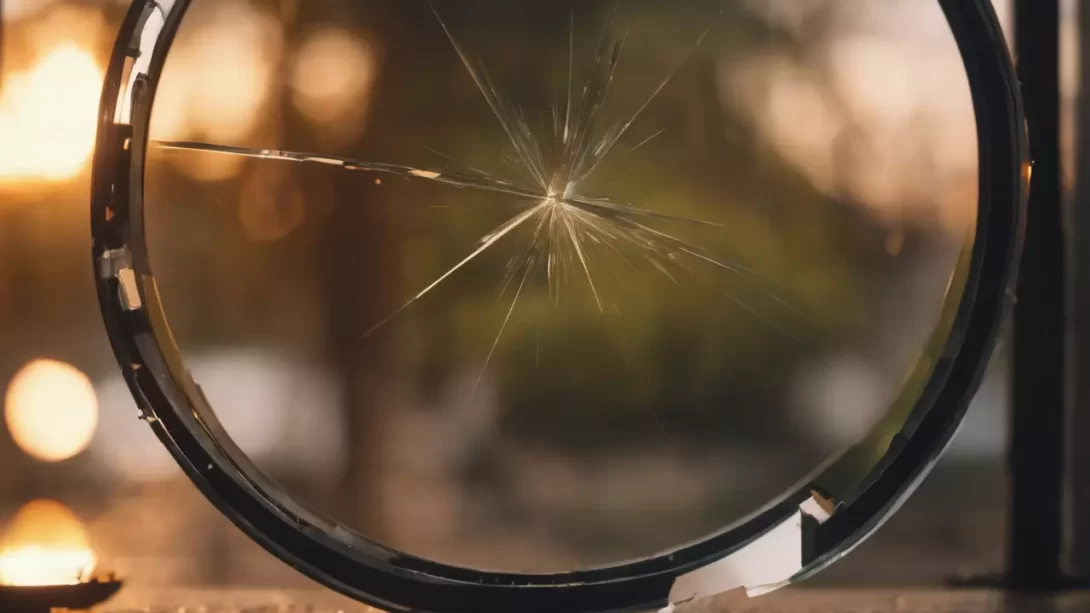
Creating a hole in glass without the use of traditional drilling tools is a challenging but achievable task. This technique requires patience, precision, and an understanding of the properties of glass. Safety is paramount in this process. It’s crucial to wear protective gear, including safety glasses and gloves, to prevent injury from glass shards or breakage.
Glass Properties
Glass is a fragile and brittle material composed primarily of silica. Its structure makes it susceptible to cracking and shattering under stress. Understanding these properties is key to successfully creating a hole without causing the glass to break. The type of glass and its thickness will significantly influence the method used and the ease of creating a hole.
Preparing the Glass
Cleaning and Marking
The first step is to clean the glass surface thoroughly to remove any dirt, grease, or residue. This ensures a clear working area and reduces the risk of the glass slipping. Once cleaned, use a non-permanent marker to carefully mark the exact spot where you wish to create the hole.
Creating a Support Base
It’s important to set up a stable and cushioned base to work on. This could be a folded towel or a piece of foam. Securely position the glass on this base to minimize movement during the process. The support should be firm enough to hold the glass but soft enough to absorb any impact and reduce the risk of breakage.
Techniques for Making a Hole in Glass Without Tools
Using a Soldering Iron
If a soldering iron is available, it can be used to gently heat the glass at the marked spot. The heat will cause the glass to expand slightly, creating a weak point. This method requires a delicate touch to gradually melt a small hole in the glass without causing it to shatter.
Nail and Flame Method
Another approach involves using a heated nail or a similar pointed metal object. Hold the nail with pliers and heat it over a flame until it’s red-hot. Then, carefully press the heated nail against the marked spot on the glass. The thermal shock and pressure will start creating a small hole. This process should be done gradually, reheating the nail as needed.
Tapping Method
This method uses a hardened steel object, like a center punch, to gently tap around the marked area on the glass. Start with very light taps, creating a small stress point. Gradually increase the force, but be careful to avoid too much pressure, which could shatter the glass.
In the next sections, we will cover additional methods like the thread and cold water technique, along with instructions on how to finish the hole by smoothing the edges and polishing the glass, and important safety and troubleshooting tips.
Thread and Cold Water Technique
This traditional method involves using a piece of cotton thread soaked in a flammable liquid, such as lighter fluid or alcohol. Here’s how it works:
- Wrap the Soaked Thread: Tie the soaked thread around the glass where you want the hole, ensuring it’s directly over the marked spot.
- Apply Heat: Light the thread on fire and allow it to burn off completely. The heat will cause the glass to expand around the thread.
- Quench with Cold Water: Immediately after the flame goes out, apply cold water to the area. The rapid temperature change creates a controlled crack.
This method requires careful handling and should be done in a safe, well-ventilated area, away from any flammable materials.
Finishing the Hole
Once you’ve successfully made a hole in the glass, the next steps are to smooth and finish the edges.
Smoothing the Edges
Rough, sharp edges around the hole can be dangerous. Use fine-grit sandpaper to gently sand the edges of the hole. This process should be done carefully to avoid applying too much pressure, which might crack the glass.
Cleaning and Polishing
After sanding, clean the glass to remove any dust or residue from the hole-making process. Polishing the edges with a soft cloth can give the hole a more finished look, making it safer to handle.
Safety and Troubleshooting
Common Challenges and Solutions
Working with glass without proper tools can lead to several challenges:
- Irregular Holes: If the hole is not as desired, use sandpaper to gently shape and smooth it.
- Cracks or Shattering: Minor cracks might be salvaged by carefully sanding the area, but major breaks typically mean starting over with a new piece of glass.
Final Safety Reminders
Always prioritize safety when working with glass:
- Wear protective gear throughout the process.
- Work in a well-lit, stable, and safe environment.
- Be prepared for the possibility of the glass breaking despite your best efforts.
Conclusion
Working with glass, especially without the aid of specialized tools, underscores the need for safety precautions. Always wear protective gear, including safety glasses and gloves, and work in a stable, well-lit environment. Be prepared for potential breakage and handle all glass with care.
Patience is key in this process. Rushing can lead to mistakes and increase the likelihood of the glass breaking. Take your time with each step, from marking and heating to cooling and finishing the hole.
This guide provides a starting point for those looking to undertake this unique challenge. Whether you’re a hobbyist, DIY enthusiast, or artist, making a hole in glass without tools is a testament to skill and creativity. However, remember that the unconventional nature of these methods comes with risks, and the utmost caution should be exercised throughout the process.