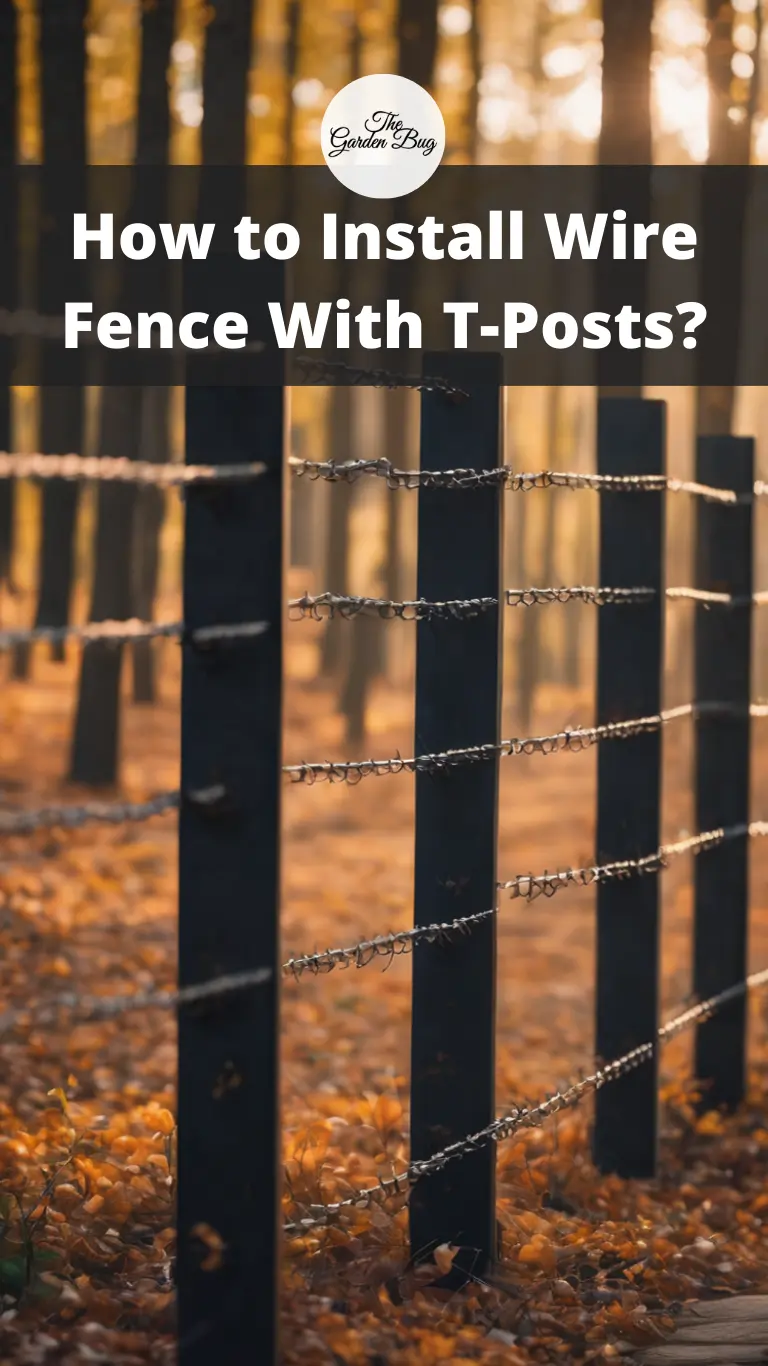
Are you looking to secure your backyard or garden with a sturdy wire fence? Well, you’ve come to the right place! Installing a wire fence with T-posts might seem like a daunting task, but it’s a project you can handle yourself with the right instructions. This guide will show you the steps you need to take to ensure your new fence is effective and secure.

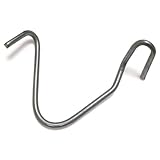
- [Upgrated Fence Wire Twisting Tool]- Meelna upgraded t post clip tool features a two-way Fence Wire Twister and is made of hard metal, the prongs will not tend to bend. It would not get obstructed by wires at times while wrapping due to its Shorter length design.
- [Easy to Use]- This fence wire twisting tool is an ideal tool to left or right side twist in limited space prevent injury and sore fingers which design to provide a more effective way to deal with fence wire than other tools.
- [Time Saving]- We have optimized the design of the edge, which can wind steel wires of different thicknesses and bend them into different shapes. Wire winding speed can be very fast, the fence wire twister for T post clips can easily reduce your fence building time. Fence wire twister tool for 12.5 gauge wire or less, It saves a lot of time to not have to use pliers.No more smashed fingers, loose wires, or hammering and pulling.
- [Widely Used]- The steel wire galvanized twisted wire fence tools can be widely applied for barbed wire, high strength barbed wire, dog, sheep, pig, cattle, horse wire, etc. It can also be applied to fix t-post clamps to t-posts, and is an ideal wire winding tool.
- [In the Package]- 3 pcs easy twist fence tools.If Quality Problems, free replacement in warranty.
What You’ll Need: Tools and Materials
Before we start, let’s make sure we have everything we need. Here’s your shopping list:
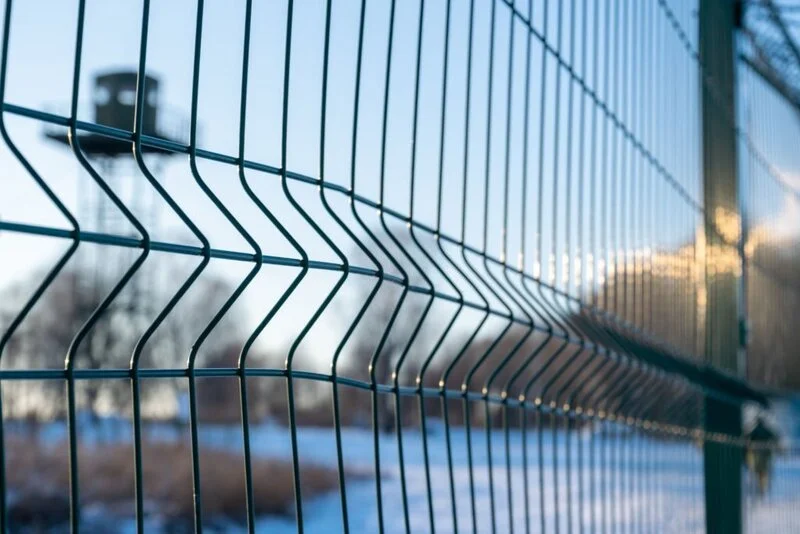
- Wire fencing: This is the main component of your project. Choose a sturdy wire fencing that suits your needs best.
- T-posts: These will hold your wire fence upright. Make sure they are tall enough and sturdy enough to support the wire fencing.
- T-post clips: You’ll use these to attach the wire fencing to the T-posts.
- Hammer: To drive the T-posts into the ground.
- Wire cutters: To cut the fencing to the correct size.
- Measuring tape: To measure the distance between T-posts and the length of fencing needed.
- Gloves: To protect your hands while working.
- Level: To ensure your T-posts are straight.
Remember, safety first! Always wear your gloves when handling wire fencing, as it can be sharp. Now that we have everything ready, let’s dive in!
Understanding the Basics of Wire Fencing and T-Posts
Alrighty, before we dive into the deep end, let’s wade in the shallow waters first. We need to understand a little about wire fencing and T-posts. Wire fencing is an effective and relatively inexpensive way to secure a perimeter. It comes in various forms such as chicken wire, welded wire, or woven wire, each with different strengths and uses.
T-posts, on the other hand, are what you’ll use to hold the fence in place. They’re called T-posts because, well, they’re shaped like the letter ‘T’. Simple, right? These posts are usually made from steel and are coated to prevent rusting. The top part of the T is where you’ll attach the fence, while the bottom part gets driven into the ground.
Choosing the Right T-Posts and Wire Fencing
Now, you might be wondering, “How do I choose the right T-posts and wire fencing?” Excellent question! Here’s the answer: it depends on what you want your fence to do. If you’re trying to keep small animals out of your garden, chicken wire might be the way to go. If you’re looking for something more robust to secure a large area, welded or woven wire could be your best bet.
When it comes to T-posts, consider the height and sturdiness you’ll need. This will depend on the height of your fence and what it will be used for. For example, if you’re installing a taller fence, you’ll need longer T-posts. Also, consider the soil type in your yard. If your soil is rocky or hard, you might want to opt for more robust T-posts that can be driven into such a terrain.
Don’t worry, it might take some time to decide, but once you’ve made the right choice, the rest of the process will be a breeze!
- For attaching non-electrified wire to T-Posts
- Fit standard size 1.25 and 1.33 lb. studded T-posts
- Heavy duty – Manufactured from 11-1/2 gauge wire that is heavily galvanized
- Designed for fast and easy attachment
- 100 per bag
Preparing the Area for Fence Installation
Time to put on your gloves and roll up your sleeves! The first step to installing your new wire fence is preparing the area. Start by cleaning up the area where the fence will go. Get rid of any sticks, rocks, or plants that could get in the way.
Next, you’ll want to mark the line where your fence will go. The simplest way is to use a string line. Start by placing a stake at each end of where you want the fence and tie the string between them. This will help you to make sure your fence is straight, which will be super helpful when you start putting in your T-posts.
Step-by-Step Guide to Installing Wire Fence with T-Posts
Now that everything’s ready, let’s dive into the actual fence installation. Here’s a simple step-by-step guide:
- Start by driving your first T-post into the ground at the beginning of your string line. You’ll want to use a T-post driver for this – it’s a tube with handles that slides over the top of the post and lets you drive it into the ground with a bit of muscle.
- Measure out where you want your next T-post to go (usually about 8-12 feet apart, but follow the instructions on your specific fencing), then drive it into the ground like the first one.
- Continue this process along the entire string line until all your T-posts are installed.
- Now, it’s time to attach your wire fencing. Start at one end, secure the fencing to the T-post using wire clips. Make sure the fencing is tight and straight.
- Unroll the fencing to the next T-post and secure it in the same way. Keep going until the fencing is attached to all the T-posts.
- Once the fence is up, walk along it to make sure it’s secure and that there are no gaps.
And voila! You’ve just installed a wire fence with T-posts. Well done, you! It might have been a bit of work, but trust me, it’s worth it!
Maintaining and Repairing Your Wire Fence
Congrats! You’ve got your wire fence up and running. But remember, like all good things, it needs a little bit of care to keep it in tip-top shape. Here’s a simple tip for you: always keep an eye on your fence. Check it regularly for any signs of damage or wear. If you notice any loose wire or damaged posts, fix them right away. This way, your fence will stay strong and last longer.

- Time Saver: It makes installing clips crazy fast compared to using fencing pliers. Cut your fence build time in half, while the cost is much cheaper than other fencing tool.
- Easy to Use: Simply following the user guide on the picture, then you will get the hang of using this tool.
- Made of Stainless Steel: Strong enough to twist any thickness wire you want on your Tpost. The thickness of the bender is about 2mm stainless steel.
- In the Box: 2pcs easy twist fence tool.
- If you’re not happy with our barbed wire fence tools, you can get the replacement or refund, no question asked.
Common Challenges and How to Overcome Them
Now, let’s talk about a couple of challenges you might run into while installing a wire fence. But don’t worry, we’ve got solutions for them too.
One common issue is hard or rocky soil that makes it difficult to drive the T-posts into the ground. If you run into this problem, you might need to find another spot for your fence, or use a manual post hole digger to create a hole for your T-post.
Another challenge might be dealing with uneven ground. If this is the case, you’ll need to step the fence down the slope, creating a series of panels that go up and down with the terrain, rather than trying to force the fence to follow a straight line.
Conclusion
And there you have it – a simple guide to installing a wire fence with T-posts. Yes, it might take a bit of sweat and perhaps a bit of muscle, but the end result is definitely worth it. Whether you’re trying to keep animals in or out, a sturdy wire fence is a great solution. So, get out there, give it a go, and soon you’ll be looking at your very own, homemade fence with pride. Good luck, and happy fencing!