Microgreens have become a staple in healthy diets, known for their nutritional punch and versatility in culinary uses. Growing microgreens without soil, a method often referred to as hydroponic or soilless cultivation, offers an efficient and clean alternative to traditional gardening. This article will guide you through the process of growing these tiny greens in a soil-free environment.
Microgreens
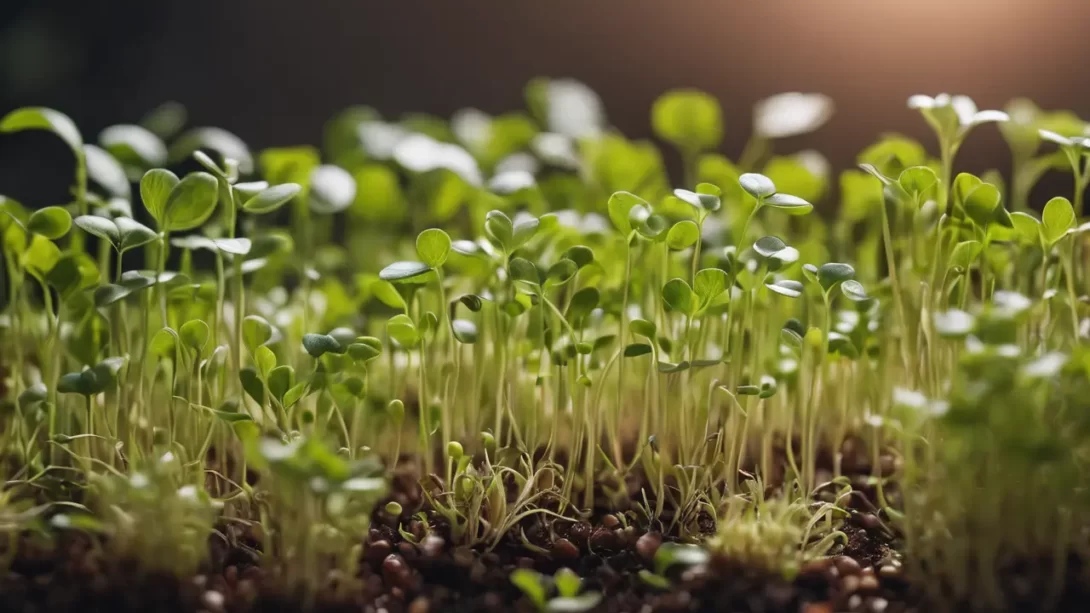
Microgreens are young vegetable greens, harvested just after the cotyledon leaves have developed. They are not only packed with nutrients but also add flavor and color to a variety of dishes. Popular varieties for soilless cultivation include radishes, kale, arugula, and basil. These greens are ideal for indoor gardening, requiring minimal space and offering a quick harvest.
Advantages of Soilless Cultivation
Soilless cultivation of microgreens comes with several benefits. It significantly reduces the mess and maintenance associated with soil-based gardening. This method also minimizes the risk of soil-borne diseases and pests. Additionally, many growers find that microgreens grown hydroponically can develop faster due to the efficient nutrient uptake.
Materials Needed
To start your soilless microgreen garden, you will need a few key supplies:
- Microgreen seeds – select high-quality, untreated seeds.
- Growing trays – shallow trays work best.
- Hydroponic growing medium – options include hydroponic mats, coconut coir, or even paper towels.
- A spray bottle for watering.
- Adequate lighting – either natural light or grow lights if sunlight is limited.
Seed Selection and Preparation
Selecting the right seeds is crucial for successful soilless cultivation. Opt for seeds specifically labeled for microgreen growth, as they are often untreated and safe for consumption. Some seeds may benefit from pre-soaking to speed up germination. If this is recommended for your chosen variety, soak the seeds in water for a few hours or as instructed.
Setting Up the Growing Environment
Prepare your growing trays by placing your chosen medium evenly across the tray. Ensure the medium is flat and moist but not waterlogged. Set up your lighting system to provide consistent light, ideally in a location with stable temperatures conducive to plant growth. The ideal temperature range for most microgreens is between 65-75°F (18-24°C).
Planting the Seeds
Once your growing environment is set up, it’s time to plant the seeds. Follow these steps for optimal growth:
- Evenly spread the pre-soaked (if applicable) seeds across the surface of the moist medium. Aim for a dense but not overcrowded distribution to ensure even growth.
- Gently press the seeds into the medium to establish good contact. This step is crucial for effective germination.
- If your medium is very light, like paper towels, you may cover the seeds with an additional thin layer to maintain moisture and provide darkness for germination.
Germination and Care
The germination phase is critical for microgreens. To create an ideal environment:
- Cover the trays with another tray or a light-proof dome to create a dark, humid environment. This simulates the natural conditions seeds would experience under soil.
- During the germination phase, which typically lasts 3-7 days depending on the variety, regularly mist the surface to keep it moist. Be vigilant about maintaining humidity while avoiding over-watering.
- Check daily for any signs of mold or fungus, which can occur if the environment is too wet. Good air circulation and proper spacing can help prevent these issues.
Growing and Monitoring
As the microgreens start to sprout, they’ll need adequate light and air:
- Once the seeds have sprouted, remove the cover to expose them to light. This is usually 2-4 days after planting, depending on the seed type.
- Place the trays in a well-lit area or under grow lights. Microgreens don’t require intense light; indirect sunlight or fluorescent grow lights are usually sufficient.
- Ensure the growing area has good air circulation, which is crucial for the health of the microgreens and to prevent mold.
- Continue to mist the microgreens with water as needed. The growing medium should be consistently moist, but not waterlogged.
Monitoring the growth of your microgreens is both enjoyable and essential. Watch for any changes in color or texture that might indicate issues with watering or lighting. By maintaining the proper balance of moisture, light, and air, your microgreens will thrive in their soilless environment.
Harvesting Microgreens
Harvesting is the most rewarding part of growing microgreens. Typically, they are ready to harvest in 2-3 weeks after planting, depending on the variety. Here’s how to harvest them:
- Look for the first set of true leaves, a sign that the microgreens are ready. They should be about 2-3 inches tall.
- Use a clean, sharp pair of scissors or a knife to cut the microgreens just above the medium. Be careful not to damage the medium or any remaining seeds that may produce a second crop.
- Harvest in sections or all at once, depending on your need. Freshly cut microgreens can be eaten immediately or stored in the refrigerator for a few days.
Post-Harvest and Replanting
After harvesting, the growing medium can often be reused for a new batch of microgreens, depending on the condition and type of medium used. To prepare for the next batch:
- Remove any leftover plant material and roots from the medium.
- Check the medium’s integrity; some mediums, like coconut coir, can be reused multiple times, while others, like paper towels, are single-use.
- Re-moisten the medium if necessary, and repeat the seeding process as before.
Conclusion
Growing microgreens without soil is an efficient, clean, and enjoyable way to produce fresh, nutritious greens. It’s a method that works well in small spaces and requires minimal investment in materials. Whether you’re a seasoned gardener or a beginner, soilless microgreen cultivation offers a quick and satisfying way to enhance your diet and cooking. Experiment with different seeds and mediums to find the combinations that work best for you, and enjoy the journey of growing your own food.