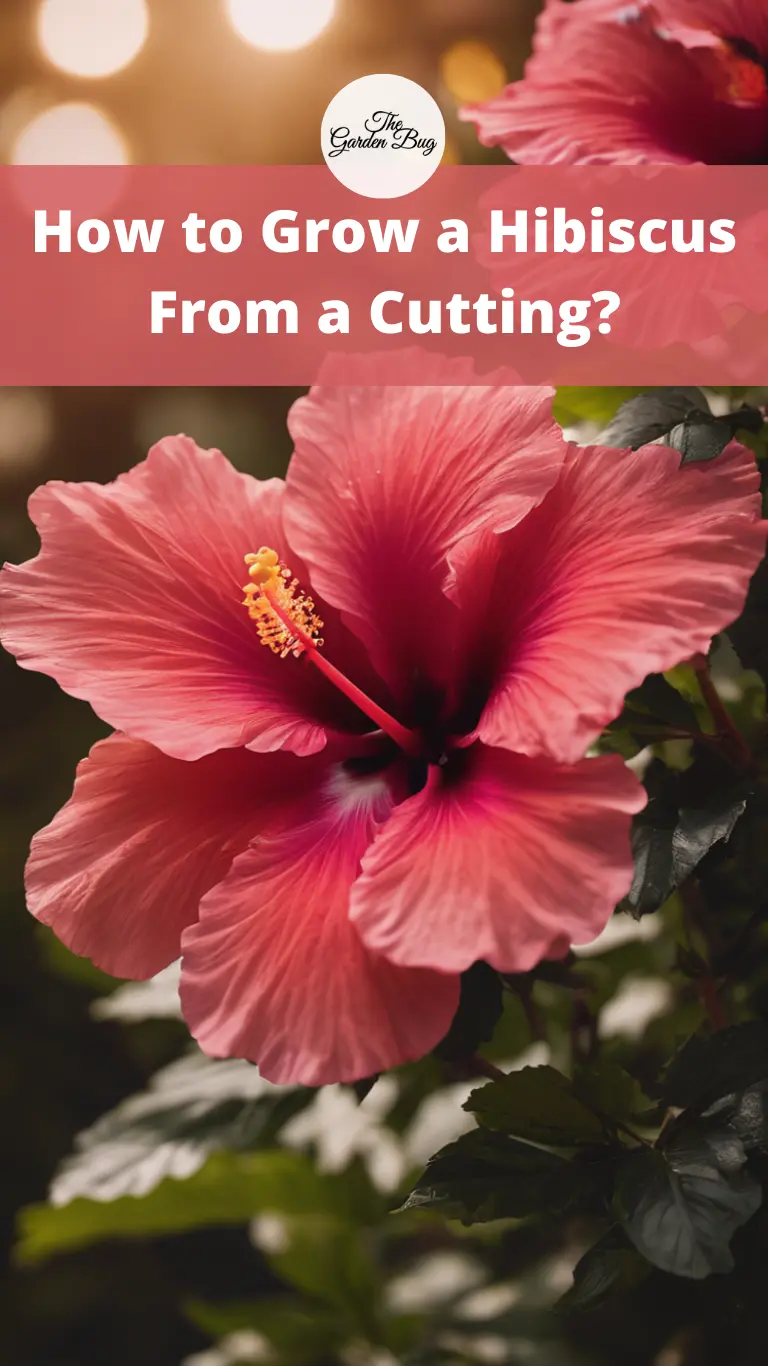
Hello, green thumbs! Ever wondered how to add more lush, tropical vibes to your garden or indoor spaces? Look no further than the hibiscus plant. With its vibrant, dinner plate-sized flowers, hibiscus adds an exotic flair wherever it grows. The good news? You don’t need to buy a new plant each time you want more of these beauties around. This article will guide you through the simple, but exciting process of growing a hibiscus from a cutting. Let’s dive in!
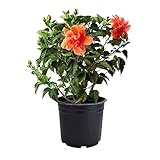
- Stunning Double Peach Blooms: Features large, vibrant double peach flowers that add a touch of tropical beauty to any garden.
- Long Blooming Season: Produces an abundance of flowers from late spring through fall, ensuring a colorful display for months.
- Easy to Grow: This hibiscus bush thrives in full sun and well-drained soil, making it an excellent choice for gardeners of all skill levels.
- Attracts Pollinators: The bright, showy blooms attract hummingbirds, butterflies, and other beneficial pollinators to your garden.
- Versatile Landscaping Plant: Ideal for use as a focal point in garden beds, borders, or as a striking container plant on patios and porches.
Understanding Hibiscus Cuttings
Let’s start at the beginning, shall we? A cutting is a section of a plant, typically a stem or a branch, which can be used to grow a new plant. Cool, right? It’s like nature’s version of a photocopier! Now, for hibiscus, the cuttings can develop into a completely new plant that’s an exact replica of its parent. This process, known as vegetative propagation, is a quick and cost-effective way to multiply your hibiscus collection. The best part? It’s easy to do and requires little more than a healthy “parent” plant and a couple of simple gardening tools.
Gathering Tools and Materials
Ready to get started? Before we dive into the process, let’s gather up the necessary tools and materials. You don’t need much, just:
- A healthy hibiscus plant: This is where you’ll take your cutting from.
- A sharp, clean pruning knife or shears: Sharp tools make a cleaner cut, causing less damage to the parent plant and the cutting.
- Rooting hormone: This helps stimulate root growth in your cutting, but it’s optional. If you don’t have any on hand, don’t worry — your hibiscus cutting can still root without it.
- A small pot or container: You’ll plant your hibiscus cutting here.
- Potting soil or a similar medium: This is where your hibiscus cutting will start its journey to becoming a new plant.
Now that we have everything ready let’s start the fun part – growing a new hibiscus plant from a cutting!
- ROOTING HORMONE – We use an IBA rooting hormone for maximum cloning effectiveness. IBA is the number one rooting hormone for cloning plants.
- MOST RELIABLE – Rooting hormone gel to clone your cuttings and plants. Our cloning gel works on all types of plants and shrubbery.
- WE GUARANTEE YOU’LL LOVE IT – Shop with confidence because if you don’t love our rooting hormone gel we will happily make it right. Our 24 hour customer service staff will be happy to answer any questions you have about rooting plants and cloning.
- GET MORE – Rooting hormone for your money in a larger jar. We know that size and value are important to growers so we pack the most potent rooting gel in a large container so you can clone more cuttings!
- AMAZING ROOTS – .35% IBA rooting hormone for cuttings is the perfect balance to root different types of plants. Too much of a rooting hormone can overwhelm the plants and cause issues. Our rooting hormone gel recipe has the ratio worked out perfectly. For results you can count on Shop Midas.
Choosing and Taking a Hibiscus Cutting
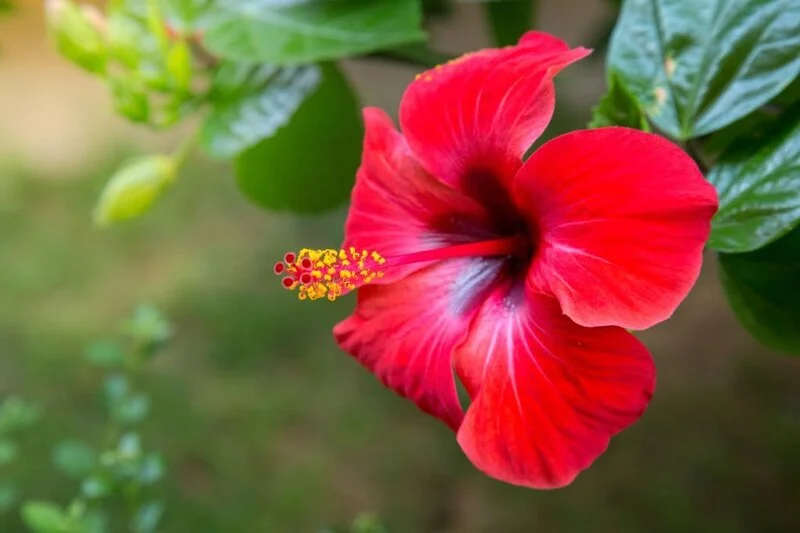
Choosing the right cutting is like picking the best fruit from a tree – it can make a big difference in your success. Look for a healthy, vigorous branch on your hibiscus plant. It should be about as thick as a pencil, and around six inches long. It’s also best to choose a branch that’s not currently blooming, as flowers can divert energy away from root growth. Once you’ve found the perfect candidate, take your clean, sharp pruning knife or shears and make a cut at a 45-degree angle. This increases the cutting’s surface area for rooting and helps it absorb water better.
Preparing the Hibiscus Cutting
After obtaining your cutting, it’s time to prep it for planting. First, strip off the leaves from the lower half of the stem, leaving only a few at the top. This helps reduce water loss through transpiration. Now, if you have a rooting hormone, this is the time to use it. Simply dip the cut end of the stem into the hormone, shaking off any excess. While not necessary, this step can speed up the rooting process and increase your chances of success.
Planting the Hibiscus Cutting
With your cutting prepared, it’s finally time to plant! Fill your pot with the potting soil or your chosen medium, then make a hole in the center with your finger. The hole should be deep enough to bury the stem up to the remaining leaves. Carefully insert your cutting into the hole, then firm the soil around it to ensure it stands upright. Water it well, and voila! You’ve just planted a hibiscus cutting. Now, all that’s left is to provide it with the right care and wait for it to grow roots and new leaves. Before you know it, you’ll have a new hibiscus plant to add to your collection or share with a friend.
Caring for the Hibiscus Cutting
Taking care of your freshly planted hibiscus cutting isn’t tough, but it does require some attention. It’s crucial to maintain a humid environment around the cutting as it establishes its roots. A simple way to do this is by covering the pot with a plastic bag or placing it in a mini greenhouse. This keeps the moisture in and helps the cutting stay hydrated. Remember to keep the pot in a warm spot with bright, indirect light, as hibiscus cuttings prefer these conditions. Water it regularly, but be careful not to overdo it. The soil should be moist but not waterlogged.

- Formulated for the unique growing habits of Hibiscus
- Developed and used by commercial hibiscus growers in Homestead, FL
- Applied directly on top of soil & mulch, no mixing required
- 2lb bag is equipped with a resealable top for easy storage
Transplanting the Hibiscus Plant
After several weeks, once your hibiscus cutting has established its roots and started showing new growth, it’s ready to be transplanted. Choose a larger pot or a sunny spot in your garden for its new home. Be gentle as you remove the plant from its current pot to minimize root damage. Place it in its new location, fill in with soil, and give it a good watering. Continue to care for it by watering regularly and providing plenty of sunlight. In time, you’ll be rewarded with a beautiful, blooming hibiscus plant.
Conclusion
Growing a hibiscus from a cutting can be an exciting and rewarding gardening project. With some patience, a bit of know-how, and a good deal of care, you can cultivate a thriving hibiscus plant that will add tropical beauty to your home or garden. It’s a testament to the magic of nature, where a small piece of a plant can give rise to a whole new one. So, why not give it a try? It might just bring out the green thumb in you!