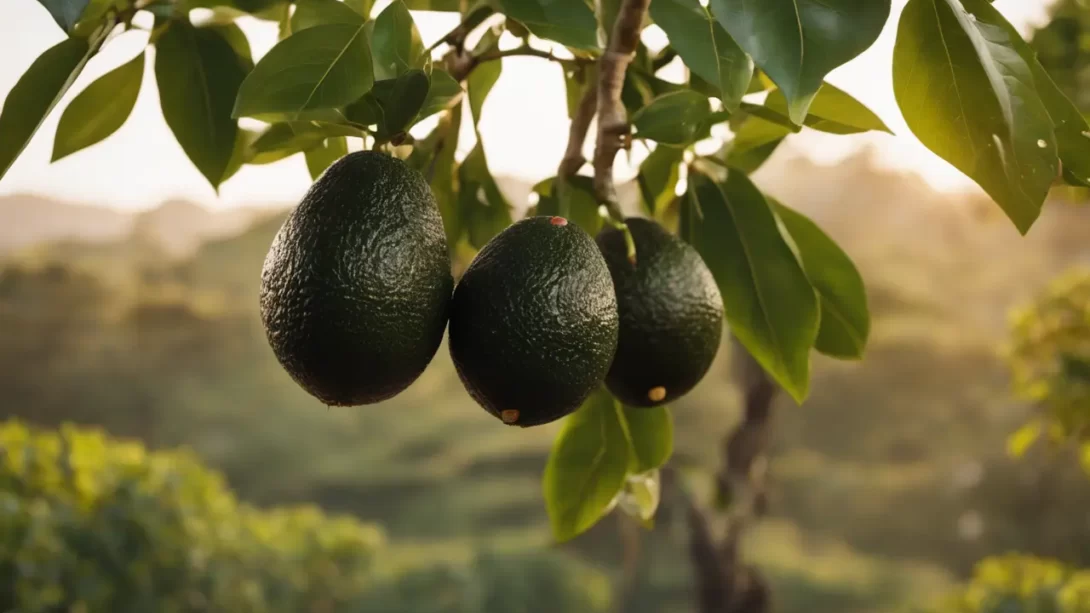
Grafting is a highly effective propagation method for avocado trees, essential for producing quality fruit. This technique involves joining the tissue of one plant (scion) to the root system of another plant (rootstock), combining the best characteristics of both. Grafting is crucial for perpetuating desirable avocado varieties, ensuring consistency in fruit quality and yield.
Grafting
In horticulture, grafting allows a grower to clone a particular avocado variety, preserving its specific fruit properties. Common grafting techniques for avocado trees include cleft grafting and bud grafting. Each method has its own advantages, and the choice depends on factors like the size of the rootstock and the time of year.
Selecting Rootstock and Scion
The success of grafting largely depends on the choice of rootstock and scion. Choose a rootstock that is vigorous, disease-resistant, and well-suited to your local soil and climatic conditions. The scion should be selected from a healthy, mature avocado tree with desirable fruit qualities. Compatibility between rootstock and scion is key to a successful graft.
Tools and Materials Needed
Essential tools for grafting include a sharp grafting knife, pruning shears, grafting tape, and a sterilizing agent like alcohol or bleach solution. Ensuring tools are clean and sterilized is crucial to prevent the spread of diseases during the grafting process.
Preparing the Rootstock
The first step in the grafting process is to prepare the rootstock. Select a healthy, young avocado tree or branch that is about the thickness of a pencil. The grafting site should be free of leaves and buds. Using a grafting knife, make a clean, slanting cut about 2-3 inches long on the rootstock. This cut exposes the cambium layer, which is crucial for the successful union of scion and rootstock.
Grafting the Scion
Once the rootstock is prepared, it’s time to attach the scion. The scion should be about the same diameter as the rootstock and contain at least two or three buds. Cut the base of the scion at a similar angle to the cut on the rootstock. Fit the scion onto the rootstock so that the cut surfaces match and the cambium layers are in contact. This alignment is essential for the graft to take.
For cleft grafting, a different approach is needed. Make a vertical cut into the rootstock, creating a ‘cleft’ or split. Then, insert a wedge-shaped scion into this cleft. The cleft grafting method is often used when the rootstock is significantly thicker than the scion.
Securing and Protecting the Graft
Once the scion is positioned, secure the graft union. Use grafting tape or rubber bands to hold the scion in place firmly but gently. Ensure that the entire cut area is covered to prevent drying out. In some cases, applying a grafting compound or wax can provide additional protection against pathogens and moisture loss.
Aftercare and Monitoring
After the graft is secured, proper care is essential for its success. Place the grafted tree in a location where it’s protected from direct sunlight and harsh weather conditions. Regular watering is crucial, but avoid over-watering as this can lead to root rot. Monitor the graft site for signs of healing and growth. New growth from the scion is a positive sign that the graft is taking. If the graft is successful, you can gradually introduce the tree to more sunlight and normal care conditions.
As the graft heals, watch for any signs of disease or pest infestation. Remove any sprouts or leaves that grow below the graft site on the rootstock, as these will divert energy away from the scion. After a few weeks, once the graft has firmly taken, you can carefully remove the grafting tape or material used to secure the graft.
Troubleshooting Common Problems
Graft failure can occur due to several reasons, such as improper alignment of the cambium layers, contamination, or environmental stress. If the graft fails, don’t be discouraged. Assess what might have gone wrong and try again. It’s often a learning process. Keep an eye out for signs of disease or pests at the graft site and address them promptly to prevent damage.
Conclusion
Grafting an avocado tree can be a rewarding process, allowing you to produce quality fruit consistently. It requires patience, precision, and care, but with practice, it becomes easier. By following these steps and being attentive to the needs of your grafted tree, you can successfully propagate your favorite avocado varieties and enjoy their fruits for years to come.


