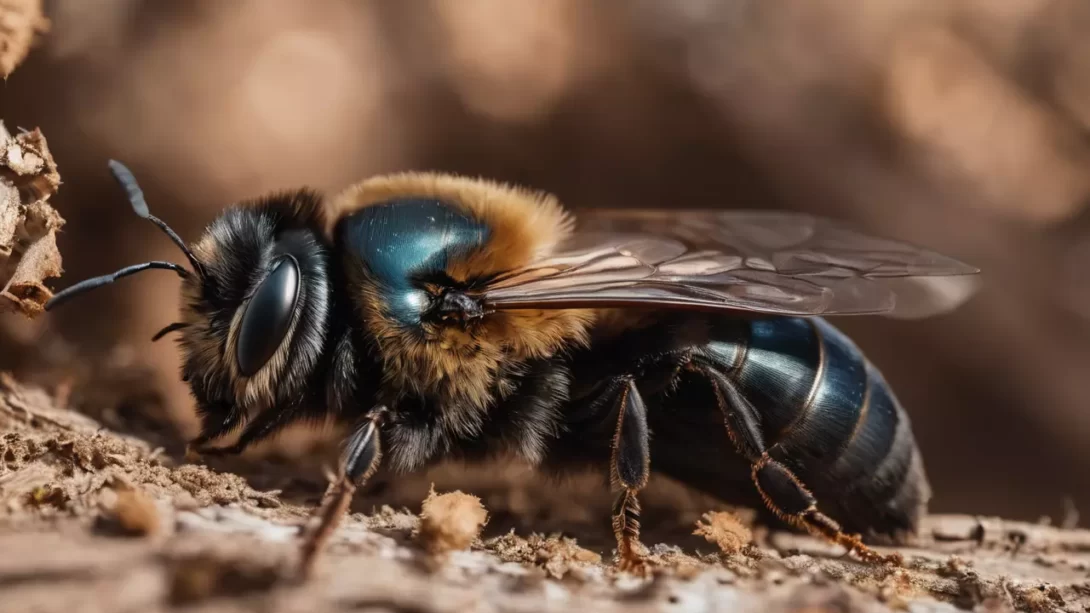
Carpenter bees, while important for the ecosystem, can cause significant damage to wooden structures in your garden and home. These solitary bees are known for boring circular holes to create nests, which can weaken wood over time. Addressing these holes promptly is crucial to prevent further damage and maintain the integrity of your wooden structures.
Identifying Carpenter Bee Holes
Carpenter bee holes are typically about 1/2 inch in diameter and can often be found on the underside of wood surfaces, including decks, railings, and eaves. These holes are usually round and smooth, with a noticeable absence of sawdust around them. It’s important to differentiate these from holes caused by other insects, such as termites, which leave behind a powdery residue. Recognizing carpenter bee holes is the first step to effective treatment.
Assessing the Extent of Damage
Before you begin the repair process, it’s essential to assess the extent of the damage. Check for multiple holes or signs of extensive tunneling within the wood. This can often be felt as a hollow space beneath the surface. If the damage is widespread or the structural integrity of the wood is compromised, it may be prudent to seek professional advice. Small, localized damage, however, can typically be managed with some DIY know-how.
Preparing to Fill the Holes
Gathering the right materials and tools is key to a successful repair. You will need a suitable wood filler or putty, a putty knife, sandpaper, and potentially paint or stain to match the existing wood. Safety should also be a priority. Ensure you wear protective eyewear and gloves, as dealing with damaged wood and bees can pose risks. Being adequately prepared simplifies the process and ensures a smoother workflow.
Treating the Holes for Bee Removal
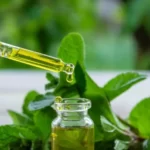
It’s vital to ensure that no bees are present in the holes before you begin filling them. The best approach is to observe the holes for activity, especially in the early morning or evening. If bees are still present, you can encourage them to leave by using natural deterrents like almond oil or citrus spray. Avoid using insecticides, as they can harm the bees and other beneficial insects. Remember, the goal is to repair the damage without negatively impacting the bee population.
Cleaning and Prepping the Holes
Once you’re certain that the bees have vacated, the next step is to clean and prepare the holes for filling. Use a wire brush or a small tool to gently remove any debris inside the holes. This step is crucial for ensuring that the filler adheres properly. After clearing the holes, make sure they are completely dry. Moisture can prevent the filler from setting correctly and may lead to further wood damage.
Choosing the Right Filling Material
Selecting the appropriate filler material is essential for a long-lasting repair. Wood putty and exterior-grade caulk are popular choices. Wood putty is ideal for its wood-like texture and ease of sanding, making it suitable for visible areas. Exterior-grade caulk, on the other hand, offers flexibility and is better for areas exposed to movement or varying weather conditions. Consider the location and appearance of the holes when choosing your material.
Filling the Holes
Filling the holes is a straightforward process but requires attention to detail. If using wood putty, apply it with a putty knife, firmly pressing it into the hole and overfilling slightly to account for shrinkage as it dries. For caulk, use a caulking gun for a more controlled application. Smooth out the surface as much as possible. Patience is key here; rushing the filling process can result in an uneven finish that may require more work to correct.
Finishing Touches
Once the filler has dried completely, which may take several hours to a day depending on the product and weather conditions, it’s time for the finishing touches. Sand the filled area until it’s flush with the surrounding wood. The goal is to make the repair as seamless as possible. If the wood was previously painted or stained, you might need to touch up the repaired area to match. A well-done finish not only enhances the appearance but also protects the repair from the elements.
Preventing Future Carpenter Bee Infestations
Preventative measures are as important as the repair itself. Carpenter bees are attracted to bare, untreated wood. Applying a coat of paint or varnish can make the wood less appealing to them. Regular inspections of wood surfaces around your home can also help you spot potential problems early. Additionally, consider installing bee-friendly deterrents, like decoy nests, to encourage bees to nest elsewhere. By taking these steps, you can reduce the likelihood of future infestations while also contributing to the well-being of these important pollinators.
Regular Maintenance and Monitoring
Continued vigilance is key in preventing carpenter bee re-infestation. Regularly inspect your wood structures for new holes or signs of bee activity, especially during their active seasons in spring and summer. Pay attention to previously repaired areas to ensure they remain intact. Incorporating these checks into your routine maintenance can go a long way in safeguarding your wooden structures against future damage.
Environmental Considerations
While managing carpenter bee damage, it’s important to balance pest control with environmental responsibility. Carpenter bees play a crucial role in pollination. Therefore, when dealing with them, aim for methods that deter rather than harm. Natural repellents and physical barriers can be effective without disrupting the local ecosystem. This approach not only addresses the immediate problem but also supports the broader health of your garden and local wildlife.
Conclusion
Dealing with carpenter bee holes can be a straightforward task if approached methodically. From identifying and preparing the holes to filling and finishing them, each step plays a crucial role in restoring your wood structures. Remember, regular maintenance and environmentally friendly deterrents are key to long-term prevention. By taking these steps, you not only repair the damage but also contribute to a healthy, vibrant garden ecosystem.