Drying bay leaves is a simple yet rewarding process, enhancing their flavor and longevity in your kitchen. Bay leaves, commonly used in cooking for their aromatic qualities, can be preserved through drying, making them a staple in various cuisines. This article delves into the methods of drying bay leaves, highlighting the benefits of each technique. Whether you have a bay tree in your garden or access to fresh leaves, understanding how to properly dry them ensures that you can enjoy their rich flavor throughout the year.
Types of Bay Leaves
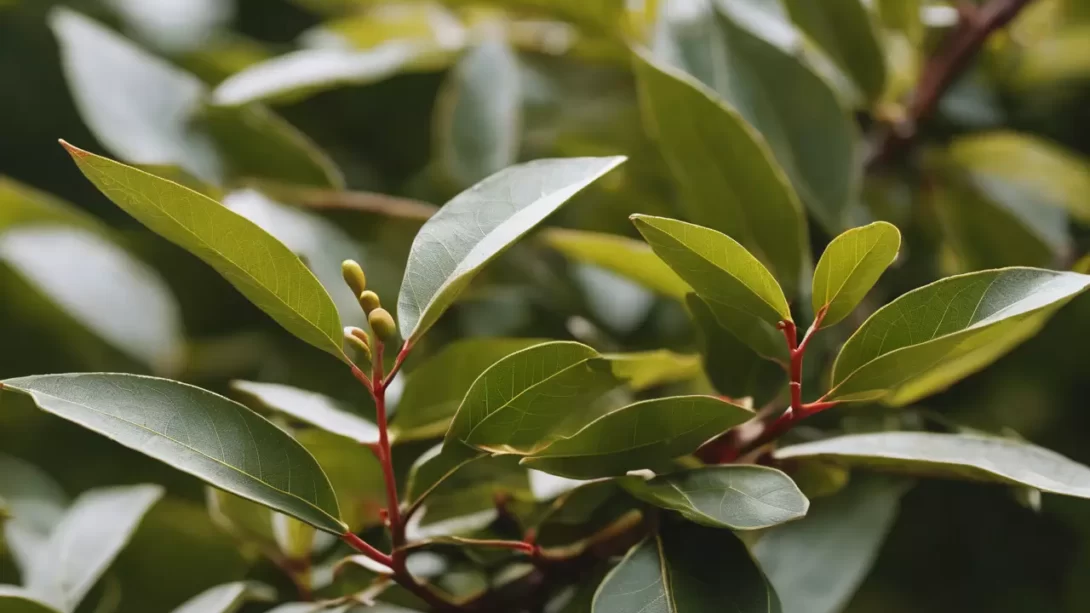
Bay leaves come primarily from the Laurus nobilis tree, known for its aromatic and flavorful leaves. It’s important to distinguish these from other similar-looking leaves, like those from the mountain laurel or cherry laurel, which are toxic and not suitable for culinary use. Fresh Laurus nobilis leaves are green and glossy, with a leathery texture. When selecting leaves for drying, choose ones that are free from blemishes, pests, and diseases to ensure the best quality and flavor in your dried product.
Harvesting Bay Leaves
The ideal time to harvest bay leaves is in the late morning after the dew has evaporated but before the heat of the day sets in. This timing helps in preserving the natural oils that give the leaves their flavor. Choose mature leaves, which are typically larger and have a fuller aroma compared to younger leaves. When harvesting, cut the leaf stem from the branch, being careful not to damage the tree. Harvesting the right way not only ensures the best quality leaves for drying but also promotes healthy growth in your bay tree.
Preparing Bay Leaves for Drying
Before drying bay leaves, it’s crucial to prepare them correctly to preserve their quality and flavor. Start by gently rinsing the leaves under cool water to remove any dirt or debris. Pat them dry with a soft towel, being careful not to crush the leaves. Inspect each leaf and discard any that are damaged, diseased, or discolored, as these can affect the overall quality of your dried leaves. It’s not necessary to remove the stems at this stage, as they can aid in the drying process. Once cleaned and sorted, the bay leaves are ready to be dried using one of several methods.
Drying Methods
Air Drying
Air drying is the most traditional method and preserves the natural oils of the leaves effectively. To air dry:
- Tie the bay leaves in small bunches using twine.
- Hang the bunches upside down in a warm, dry, and well-ventilated area away from direct sunlight.
- It typically takes about two weeks for the leaves to dry completely. They should feel crisp to the touch when ready.
Oven Drying
Oven drying is faster than air drying but requires careful monitoring to prevent burning:
- Preheat the oven to the lowest setting (usually around 200°F or 95°C).
- Spread the bay leaves in a single layer on a baking sheet.
- Place in the oven, leaving the door slightly ajar to allow moisture to escape.
- Check every 15 minutes, turning the leaves occasionally, until they are dry. This usually takes about 1 hour.
Dehydrator Drying
Using a dehydrator is an efficient way to dry bay leaves, especially in humid climates:
- Place the bay leaves in a single layer on the dehydrator trays.
- Set the dehydrator to a low setting, around 95°F to 115°F (35°C to 46°C).
- Dry the leaves for 4-6 hours, checking periodically for crispness.
Each of these methods has its advantages, and the choice often depends on the quantity of leaves, available equipment, and personal preference.
Storing Dried Bay Leaves
Proper storage is key to preserving the flavor and aroma of dried bay leaves. Once the leaves are completely dry and crisp, store them in an airtight container. Glass jars with tight-fitting lids are ideal as they prevent moisture and light from degrading the leaves. Keep the container in a cool, dark place like a pantry or cupboard. Avoid storing near heat sources or in direct sunlight, as this can cause the leaves to lose their flavor more quickly. Properly stored, dried bay leaves can retain their quality for up to a year. Remember to label the container with the date of drying to keep track of freshness.
Common Mistakes to Avoid
When drying and storing bay leaves, there are several common pitfalls to avoid:
- Not Drying Completely: Ensure the leaves are thoroughly dry before storage to prevent mold growth.
- Overheating in the Oven: Keep the oven temperature low and monitor closely to avoid burning the leaves.
- Overloading the Dehydrator: Allow enough space between leaves for proper air circulation.
- Poor Storage Conditions: Avoid damp, warm areas and containers that are not airtight.
- Using Damaged Leaves: Discard any leaves that are yellowed, bruised, or diseased before drying.
Avoiding these mistakes will help maintain the quality and extend the shelf life of your dried bay leaves.
Conclusion
Drying bay leaves is a straightforward process that enhances their flavor and extends their shelf life. Whether you choose to air dry, oven dry, or use a dehydrator, each method can yield excellent results when done correctly. Remember to prepare the leaves properly, dry them thoroughly, and store them in ideal conditions. By avoiding common pitfalls, you can ensure a supply of aromatic bay leaves ready to enrich your cooking for months. This simple practice is a perfect way to make the most of your garden’s bounty and add a homemade touch to your culinary creations.