Zinnias are a garden favorite, adorning spaces with their vibrant and diverse palette. These flowers are not just a visual feast but also a gardener’s ally in creating a lively outdoor or indoor arrangement. Knowing how to cut zinnias correctly can significantly extend their vase life and encourage the plant to produce more blooms, making your garden a burst of color for longer periods. This guide aims to walk you through the process of cutting zinnias, from the tools you’ll need to the best time to snip those stems.
Introduction to Zinnias
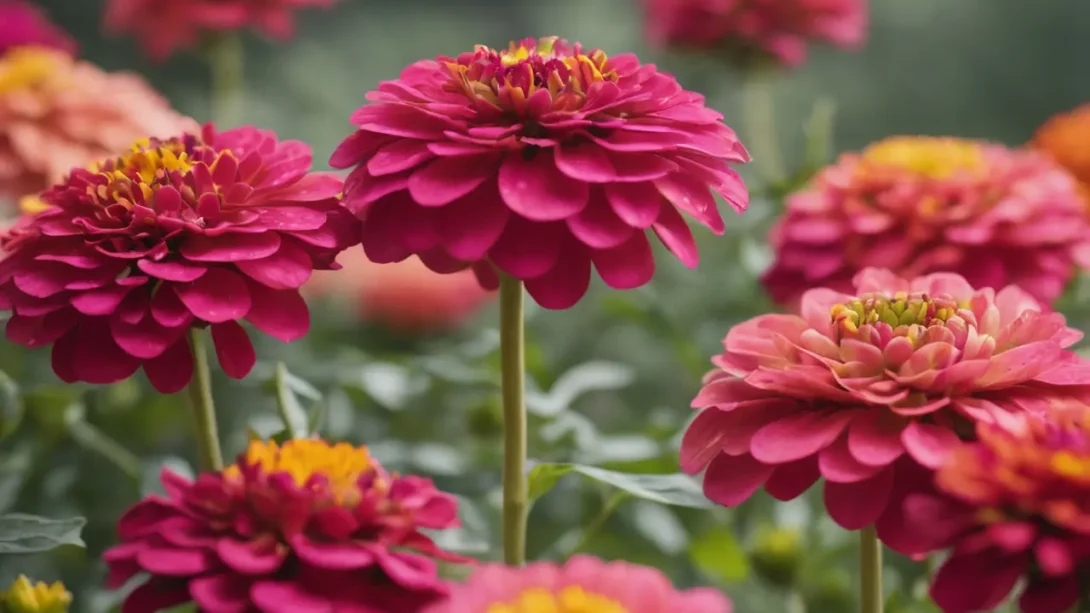
Zinnias, belonging to the genus Zinnia, are among the most colorful and versatile flowers to grow in a garden. They come in a wide range of sizes, from dwarf varieties that are perfect for borders to tall types that can add height and structure to your garden space. Zinnias’ colors span the rainbow, offering shades of red, orange, pink, yellow, and more, including multicolored varieties. Beyond their beauty, cutting zinnias regularly can actually promote a healthier plant. The act encourages the plant to produce more flowers, extending the blooming season and increasing your garden’s vibrancy.
Necessary Tools for Cutting Zinnias
Before you start cutting, it’s crucial to have the right tools on hand. You’ll need a pair of sharp scissors or pruners. Dull tools can crush the stem instead of making a clean cut, which can hamper water uptake and shorten the flower’s vase life. Additionally, a bucket of water is essential to place the cut zinnias immediately after cutting, preventing air bubbles from entering the stems and blocking water absorption. Ensuring your tools are clean is also vital to prevent the spread of disease among your plants. A quick wipe with rubbing alcohol or a bleach solution can keep your tools in good shape and your plants healthy.
Best Time to Cut Zinnias
Timing is everything when it comes to cutting zinnias. The best time to cut zinnias is in the morning when their water content is highest. This ensures the flowers are as hydrated as possible, which is key to extending their vase life. Additionally, it’s important to choose the right stage of bloom. Look for flowers that are just about to fully open. Buds that are too tight may not open after being cut, while flowers that are fully open won’t last as long. Choosing blooms that are in the sweet spot of just opening will give you the most beautiful and long-lasting arrangements.
How to Cut Zinnias
Cutting zinnias is a simple process that, when done correctly, can greatly benefit the plant and the gardener. Follow these steps for best results:
- Select the Right Stem: Look for zinnia stems that are firm and healthy, with flowers that are just about to fully open. Avoid stems that are wilting, damaged, or diseased.
- Cut at an Angle: Using your sharp scissors or pruners, make a clean cut at a 45-degree angle about ¼ inch above a leaf node or bud. This angle increases the surface area for water intake and encourages new growth from the node.
- Immediate Water Immersion: After cutting, immediately place the stem in the bucket of water you’ve prepared. This quick transition helps prevent air embolisms that can block water absorption, ensuring the cut zinnias stay hydrated.
After Cutting Care
Once you’ve cut your zinnias and placed them in water, a few additional steps can help extend their vase life and keep them looking fresh:
- Re-cut Stems: Before arranging them in a vase, re-cut the stems underwater to ensure they can absorb water more effectively. Remove any leaves that will be below the waterline to prevent bacterial growth.
- Choose the Right Vase: Use a clean vase filled with fresh water. Adding a floral preservative can help prolong the life of your zinnias by providing them with nutrients and inhibiting bacterial growth.
- Location Matters: Place your vase in a location that receives indirect light and is away from drafts and extreme temperatures. This helps prevent the flowers from wilting prematurely.
Encouraging Regrowth in Zinnias
After cutting zinnias, it’s not just about enjoying the current blooms; you can encourage your plants to produce even more flowers. Here’s how:
- Regular Deadheading: Even if you’re not cutting flowers for arrangements, regularly remove spent blooms. This prevents the plant from putting energy into seed production and encourages more blooms.
- Proper Spacing: Ensure your zinnias are planted at the recommended spacing to promote good air circulation. This helps prevent disease and allows each plant enough space to grow more blooms.
- Fertilization: A balanced, slow-release fertilizer applied during the growing season can provide the necessary nutrients for continuous bloom production. However, avoid over-fertilizing, as too much nitrogen can lead to more foliage and fewer flowers.
Common Mistakes to Avoid
While cutting and caring for zinnias may seem straightforward, there are several mistakes that can hinder the process:
- Overcrowding: Zinnias thrive with ample space. Planting them too close together can limit air circulation, leading to mildew and other diseases. Ensure you follow spacing guidelines for the variety you’re growing.
- Improper Cutting Technique: Using dull tools or making jagged cuts can damage stems, making it difficult for the flower to absorb water. Always use sharp, clean scissors or pruners and cut at a 45-degree angle.
- Neglecting Plant Health: After cutting your zinnias, it’s crucial to continue caring for the remaining plant. Regular watering, mulching, and monitoring for pests will keep your zinnias healthy and encourage more blooms.
Arranging Cut Zinnias
Zinnias are as versatile in arrangements as they are in the garden. Here are a few tips to create beautiful displays:
- Vary Heights and Colors: Mix zinnias of different heights and colors to create depth and interest in your arrangements. The diversity of zinnias allows for endless creativity.
- Support with Greenery: Adding foliage from your garden can provide a lush backdrop for the vivid colors of zinnias. This not only adds volume to your arrangement but also highlights the flowers’ beauty.
- Change Water Regularly: To keep your zinnias looking fresh, change the water in the vase every two days. This helps prevent bacterial growth, which can shorten the lifespan of your blooms.
- Use Floral Foam for Stability: If you’re creating a larger arrangement, floral foam can provide the necessary support for your stems. This is especially helpful for keeping taller zinnias in place.
Conclusion
Cutting zinnias from your garden is a rewarding practice that enhances your indoor and outdoor spaces. By following the steps outlined in this guide, you can ensure your zinnias are cut correctly and cared for properly, extending their beauty and encouraging your plants to produce more blooms. Remember to avoid common mistakes and apply simple arranging techniques to showcase your zinnias in the best possible way. With a little effort, you can enjoy the vibrant, cheerful presence of zinnias throughout the growing season, bringing a splash of color and life to your home and garden.