Rutabaga, a root vegetable often overshadowed by its popular cousin, the turnip, deserves a spot in your culinary repertoire. Rich in nutrients and versatile in the kitchen, rutabaga can enhance a variety of dishes, from hearty stews to savory mashes. However, due to its dense texture and tough skin, cutting a rutabaga can be challenging. This guide aims to demystify the process, ensuring you can prepare this vegetable safely and effectively.
Rutabaga: Characteristics and Preparation
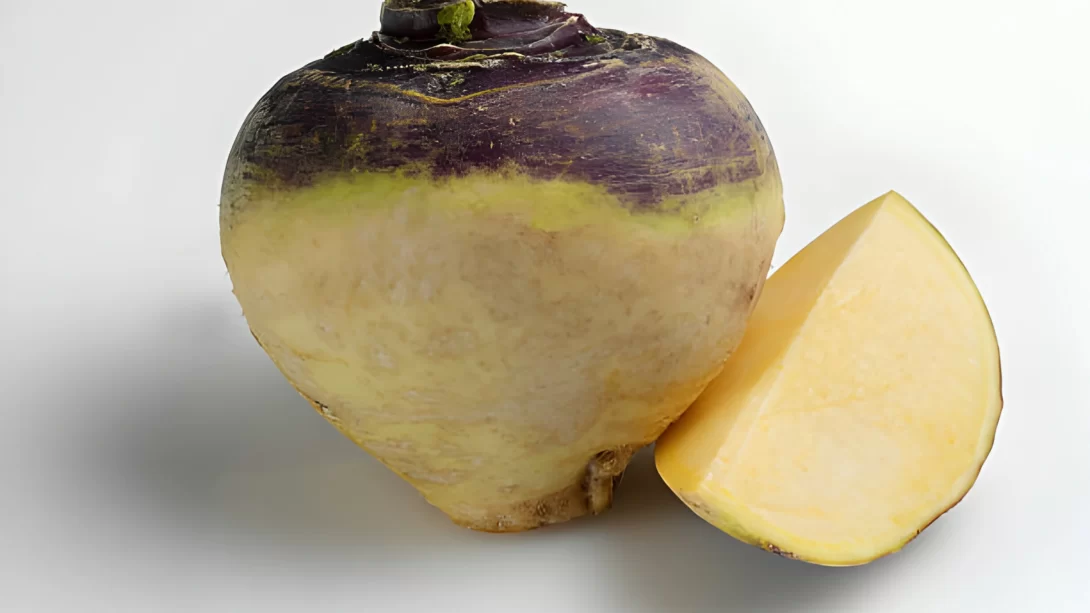
Rutabaga is a large, round root vegetable, characterized by a tough outer skin and a firm, yellow-orange flesh. It’s larger and denser than a turnip, making it slightly more challenging to cut. When selecting rutabaga, look for firm specimens with smooth skin, free from major blemishes or soft spots. Before cutting, it’s crucial to wash the rutabaga thoroughly to remove any dirt or debris. Gathering the right tools is also key – a sharp chef’s knife and a sturdy cutting board are essential for safe and efficient cutting.
Initial Preparation: Peeling the Rutabaga
Peeling a rutabaga is the first step in its preparation. Given its tough skin, a sharp vegetable peeler is the most effective tool for this task. If a vegetable peeler is not available, a paring knife can also be used, though it requires more caution. To ensure safety, stabilize the rutabaga on the cutting board by cutting off a small slice from the bottom to create a flat surface. This prevents the vegetable from rolling while peeling. Work your way around the rutabaga, removing the skin in strips until all the thick, waxy outer layer is gone. Remember, the skin of a rutabaga can be quite thick, so applying a bit more pressure than usual may be necessary.
Cutting Techniques: Slicing and Dicing
Once your rutabaga is peeled, it’s time to slice it. Place the flat side down on the cutting board for stability. For even cooking, it’s important to cut the rutabaga into uniform slices. Hold the knife firmly and slice the vegetable into rounds, approximately 1/4-inch thick. If you’re dicing the rutabaga for soups or stews, first cut these slices into strips, then cross-cut them into cubes. Aim for consistency in size to ensure that the pieces cook evenly. This step requires patience and a steady hand, but the effort pays off in the quality of your dish.
Advanced Cuts: Julienne and Chopping
If your recipe calls for more refined cuts, like julienne, start by cutting the rutabaga slices into thin strips. Julienne strips are typically about 1/8-inch thick and 2-3 inches long. This cut is excellent for stir-fries or as a garnish. For larger, rustic cuts suitable for roasts or stews, chop the rutabaga into bigger chunks. These don’t need to be as uniform but try to keep them around the same size for even roasting or boiling. When executing these advanced cuts, keep your fingers tucked away safely and let the knife do the work, using a rocking motion.
Storage and Usage of Cut Rutabaga
After cutting your rutabaga, it’s important to store any unused portions properly. Cut rutabaga can be kept in the refrigerator, wrapped in plastic or stored in an airtight container. It typically stays fresh for several days. Rutabaga can also be frozen for longer storage. Blanching it before freezing helps preserve its texture and flavor. In terms of usage, rutabaga is incredibly versatile. It can be roasted, boiled, mashed, or added to soups and stews. Its earthy flavor pairs well with both sweet and savory ingredients.
Conclusion
Mastering the art of cutting rutabaga can significantly elevate your culinary creations. With its dense texture and rich flavor, rutabaga adds a nutritious and tasty element to many dishes. Let’s recap the key steps for handling this hearty vegetable:
- Selection and Preparation: Choose a firm, smooth rutabaga. Wash it thoroughly and gather a sharp knife and cutting board.
- Peeling: Use a vegetable peeler or a paring knife to remove the tough skin, stabilizing the vegetable on its flat end for safety.
- Slicing and Dicing: For even cooking, slice the rutabaga into uniform rounds and then dice or slice as per your recipe’s requirements.
- Advanced Cuts: Julienne or chop the rutabaga depending on the dish you are preparing, keeping safety in mind.
- Storage: Store cut rutabaga in the refrigerator or freeze it after blanching for longer preservation.
As you experiment with rutabaga in your kitchen, remember that the key to perfect preparation is patience and practice. Its versatility in recipes ranging from savory roasts to sweet bakes makes it a valuable addition to your vegetable repertoire. Whether you’re a novice or a seasoned cook, the humble rutabaga, with its unique flavor and texture, is sure to impress.
With these skills in your culinary toolkit, you’re well-equipped to tackle this underappreciated vegetable with confidence and creativity.