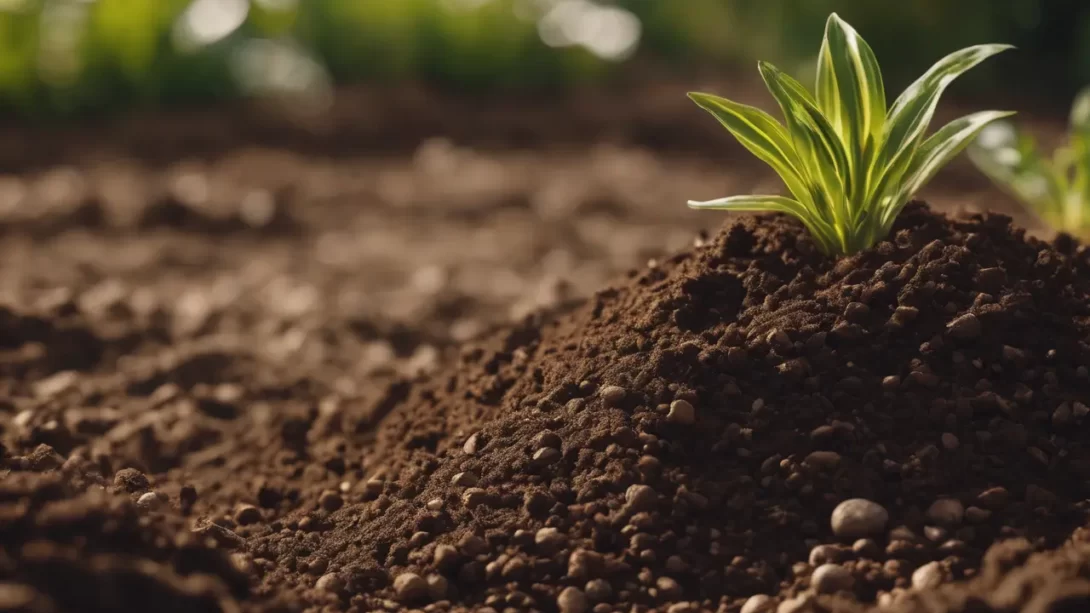
Soil compaction is a crucial process in gardening and landscaping, involving the densification of soil particles to reduce air gaps. This practice strengthens the soil, making it more stable and suitable for supporting plants, lawns, and structures. Compaction increases the load-bearing capacity of the soil and prevents settling and erosion. Understanding when and how to compact soil properly is key to successful garden and landscape projects, ensuring a solid foundation for growth and construction.
Soil Types
Different types of soil respond uniquely to compaction. The main categories include sandy, loamy, and clay soils, each with distinct characteristics. Sandy soils drain quickly and compact easily, while clay soils hold moisture and require more effort to compact. Loamy soil, a balanced mix of sand, silt, and clay, offers a middle ground in terms of compaction needs. Recognizing your soil type is vital, as it determines the compaction method and intensity required for optimal results.
When to Compact Soil
Compacting soil is essential in several situations. For new gardens, compaction creates a stable base for planting. When establishing lawns, compacted soil ensures an even surface and proper root establishment. In construction, compaction provides a solid foundation for pathways or structures. Signs that your soil may need compaction include uneven settling, poor drainage, or difficulty in establishing plants. The best time to compact soil is before planting or construction begins, setting the stage for a successful project.
Tools for Compacting Soil
The tools used for compacting soil vary depending on the scale and nature of your project. For small garden beds or minor landscaping work, a hand tamper is often sufficient. This simple tool consists of a flat, heavy plate attached to a handle and is used to manually compact the soil by striking it firmly. For larger areas like lawns or garden paths, a garden roller, which can be filled with water or sand for added weight, is more efficient. For extensive or heavy-duty compaction tasks, such as preparing a base for a driveway or large building projects, mechanical compactors like plate compactors or jumping jacks are the tools of choice. Each tool has its specific use case, and selecting the right one is crucial for effective compaction.
Preparing Soil for Compaction
Proper preparation of the soil is critical for successful compaction. Begin by clearing the area of any large debris, rocks, or roots. This ensures a uniform compaction process without obstructions. Next, level the soil as much as possible. Uneven surfaces can lead to inconsistent compaction, which might cause problems in the future. The soil should also be moistened before compaction; dry soil is difficult to compact effectively, while overly wet soil can become too dense or sticky, especially in clay soils. The goal is to achieve a damp consistency that holds together when squeezed but does not form a wet ball. This preparation stage lays the groundwork for efficient and effective soil compaction.
Compacting Soil: Step-by-Step Guide
- Moisten the Soil: If the soil is dry, lightly water it to the desired moisture level. Avoid overwatering.
- Start from the Edges: Begin compacting at the edges of the area and work your way inwards. This method helps to prevent the soil from shifting outwards.
- Even Strokes: Whether using a hand tamper or a roller, make sure to apply even pressure across the surface. For mechanical compactors, follow the manufacturer’s guidelines for usage.
- Overlap Passes: Overlap each pass by at least half the width of the tool. This ensures no areas are missed and compaction is uniform.
- Check for Consistency: After compacting, check the soil’s consistency. It should feel firm and stable. Inconsistent areas can be re-compacted as needed.
Following these steps will help achieve a well-compacted soil base, ready for planting, landscaping, or construction.
After Compaction: Caring for Compacted Soil
Once the soil is compacted, it’s important to maintain its condition for optimal plant growth. This involves:
- Watering: Properly water the compacted area to settle the soil further and provide a good environment for root growth.
- Aeration: Over time, compacted soil can become too dense, impeding water and air penetration. Regular aeration, especially for lawns and heavily used gardens, is crucial to maintain soil health.
- Nutrient Management: Compacted soil may require additional nutrients. Applying a balanced fertilizer or organic matter can help maintain the soil’s fertility and structure.
Balancing soil compaction with ongoing care ensures the longevity of your garden or landscaped area and promotes healthy plant growth.
Common Mistakes and How to Avoid Them
Avoiding common mistakes can significantly enhance the effectiveness of soil compaction:
- Compacting Wet Soil: Avoid compacting soil when it’s too wet, as this can lead to over-compaction, making the soil too dense for healthy plant growth.
- Ignoring Soil Type: Different soils require different compaction approaches. Ignoring your soil type can lead to ineffective compaction or soil damage.
- Overcompaction: Applying too much force or repeatedly compacting the same area can harm soil structure. Aim for firm but not overly hard soil.
Being mindful of these pitfalls and adjusting your approach accordingly will lead to better results and healthier soil.
Conclusion
Soil compaction is a key step in preparing your garden or landscape for planting and construction. By understanding your soil type, choosing the right tools, preparing the soil correctly, and following a systematic compaction process, you can create a strong and stable foundation. Remember to balance compaction with proper aftercare, including watering, aeration, and nutrient management, to maintain soil health. With these guidelines, you’re well-equipped to handle your soil compaction needs, leading to a more successful and thriving garden or landscape project.


