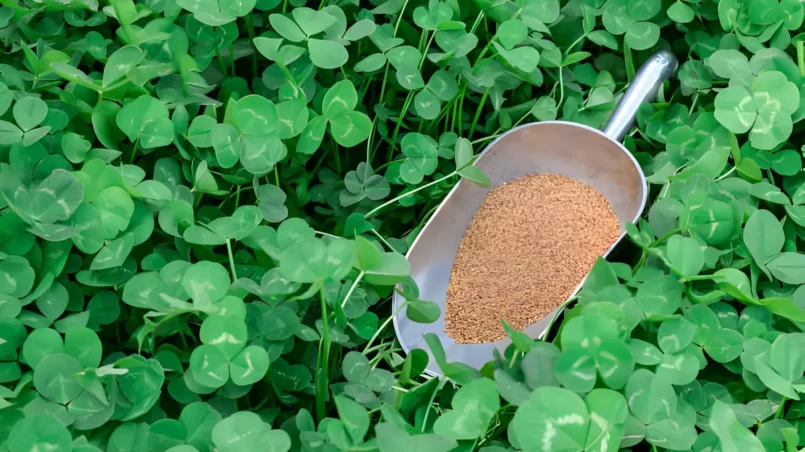
Introducing clover into an existing lawn is a growing trend among gardeners seeking a more sustainable and low-maintenance lawn. Clover, once a standard part of the American lawn, is making a comeback for its numerous benefits. These include nitrogen-fixing properties that enrich the soil, drought tolerance, and a resistance to common pests. This article will guide you through the process of adding clover to your lawn, enhancing its health and appearance. Clover and Its Varieties The most...
Category - Gardening

Deer, known for their adaptability and varied diet, often intrigue people with their dietary choices. As fall arrives and pumpkins adorn fields and porches, a question arises: do deer like to eat pumpkins? Understanding deer’s dietary habits, especially their interaction with agricultural produce like pumpkins, is not only interesting but also important for farmers and gardeners. Deer’s Natural Diet Deer are primarily herbivores and their diet typically includes leaves...
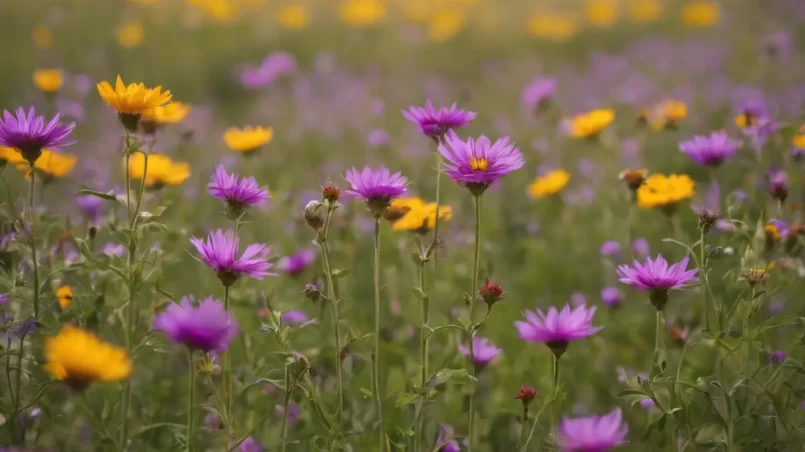
Wildflowers bring a natural charm and vibrancy to any garden, creating a haven for local wildlife and promoting biodiversity. These hardy plants not only add beauty to your landscape but also play a crucial role in supporting local ecosystems. From attracting pollinators like bees and butterflies to offering a habitat for beneficial insects, wildflowers are more than just a pretty sight. This article will guide you through the process of planting wildflower seeds, helping you transform your...

Potato water, the liquid left behind after boiling potatoes, is often discarded without a second thought. However, in the context of sustainable gardening practices, reusing kitchen waste water, like potato water, for plants has gained attention. This article explores the potential benefits and drawbacks of using potato water for plant nourishment, shedding light on whether it’s a gardening hack worth adopting. Composition of Potato Water When potatoes are boiled, nutrients and...
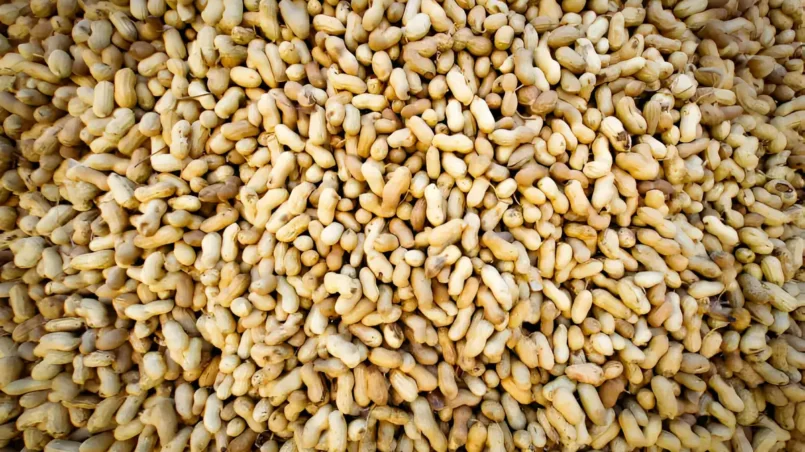
Peanuts, known scientifically as Arachis hypogaea, are a significant crop globally, valued for their nutritional and economic importance. Unlike what their name suggests, peanuts are not true nuts but legumes, growing underground unlike tree nuts. This article explores the intricate process of peanut harvesting, a critical phase that determines the quality and quantity of the yield. Peanuts and Their Growth Cycle Peanuts undergo a unique growth cycle that starts with planting and moves...

The croton plant (Codiaeum variegatum), known for its striking, multicolored foliage, is a popular choice among houseplant enthusiasts. These vibrant plants add a splash of color to any indoor space. However, cat owners often face the challenge of balancing their love for plants with the safety of their feline companions. This article explores a crucial question for cat owners: Are croton plants toxic to cats? Croton Plants Croton plants are distinctive for their glossy, leathery leaves...